
Scream and Scream Again
Year: 1970
Runtime: 95 mins
Language: English
Director: Gordon Hessler
A triple‑distilled horror that hits with the force of boiling acid, the film follows a blood‑draining serial killer on the loose in London. Detectives pursue him to a crumbling mansion owned by an eccentric scientist, where the chase spirals into a gruesome showdown. The tension builds as the investigators uncover the scientist’s twisted motives, turning the house into a nightmarish laboratory of terror.
Warning: spoilers below!
Haven’t seen Scream and Scream Again yet? This summary contains major spoilers. Bookmark the page, watch the movie, and come back for the full breakdown. If you're ready, scroll on and relive the story!
Timeline – Scream and Scream Again (1970)
Trace every key event in Scream and Scream Again (1970) with our detailed, chronological timeline. Perfect for unpacking nonlinear stories, spotting hidden connections, and understanding how each scene builds toward the film’s climax. Whether you're revisiting or decoding for the first time, this timeline gives you the full picture.
Last Updated: October 09, 2025 at 10:41

Explore Movie Threads
Discover curated groups of movies connected by mood, themes, and story style. Browse collections built around emotion, atmosphere, and narrative focus to easily find films that match what you feel like watching right now.
Gruesome Investigation Movies like Scream and Scream Again
Detectives uncover terrifying experiments that blur the line between crime and horror.If you enjoyed the dark fusion of crime and mad science in Scream and Scream Again, you'll find similar thrills here. These movies feature detectives stumbling upon horrifying experiments, blending police procedurals with gruesome body horror and psychological terror for a uniquely chilling experience.

Strange Behavior
1981

Detective Story
2007

Silent Madness
1984

Scared to Death
1980
Strange Harvest
2025

Scared to Death
1980

Chamber of Horrors
1966

Death Smiles on a Murderer
1973
Autopsy
1975

The Flesh and the Fiends
1960

Homicidal
1961

Doctor Blood’s Coffin
1961
Scream and Scream Again
1970

The Night Strangler
1973

The Man They Could Not Hang
1939
Narrative Summary
The narrative typically follows an investigative path, often led by detectives or journalists, that begins with a series of strange crimes. The pursuit gradually reveals a larger, more horrifying truth orchestrated by a morally bankrupt scientist. The climax often involves a confrontation in a makeshift laboratory, forcing characters to face unnerving physical and psychological transformations.
Why These Movies?
These films are grouped by their shared premise of a rational investigation colliding with irrational, science-gone-wrong horror. They maintain a steady, suspenseful pacing as the mystery deepens, leading to a high-intensity showdown. The tone is consistently dark, focusing on the gruesome consequences of experimentation.
Movies with a Steady-Burn of Dread like Scream and Scream Again
A tense, grim atmosphere steadily builds towards an unsettling and unresolved conclusion.Fans of the relentless, anxious tension in Scream and Scream Again will appreciate these selections. These films master a steady-building pace, crafting a dark and grim mood that escalates into a horrifying climax, often followed by an ambiguous ending that amplifies the unease.


Narrative Summary
Stories in this thread avoid rushed scares in favor of a consistent, building pressure. The narrative unfolds at a steady pace, layering clues and escalating threats to create a deep-seated anxiety. The journey is often heavy and emotionally draining, concluding with an ambiguous resolution that refuses to offer easy answers, leaving the audience to sit with the unsettling implications.
Why These Movies?
These movies are united by their shared approach to pacing and tone. They prioritize a steady, unrelenting build-up of suspense within a dark framework, resulting in a high-intensity experience. The emotional weight is heavy, and the ambiguous endings are a key component of their lasting, unsettling effect.
Unlock the Full Story of Scream and Scream Again
Don't stop at just watching — explore Scream and Scream Again in full detail. From the complete plot summary and scene-by-scene timeline to character breakdowns, thematic analysis, and a deep dive into the ending — every page helps you truly understand what Scream and Scream Again is all about. Plus, discover what's next after the movie.
Scream and Scream Again Summary
Read a complete plot summary of Scream and Scream Again, including all key story points, character arcs, and turning points. This in-depth recap is ideal for understanding the narrative structure or reviewing what happened in the movie.


Similar Movies to Scream and Scream Again
Discover movies like Scream and Scream Again that share similar genres, themes, and storytelling elements. Whether you’re drawn to the atmosphere, character arcs, or plot structure, these curated recommendations will help you explore more films you’ll love.

Scream VI
2023
Scream
2022
Scream
1996
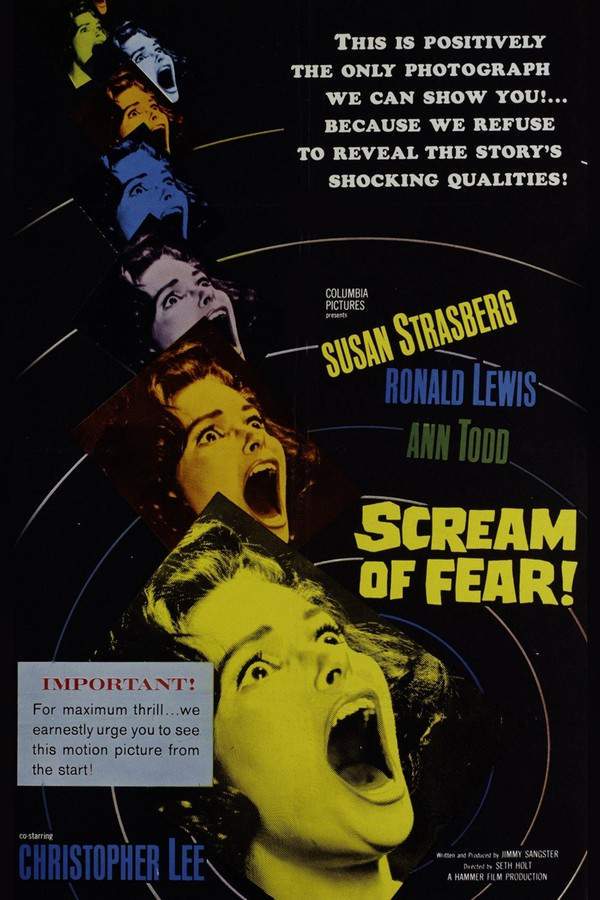
Scream of Fear
1961
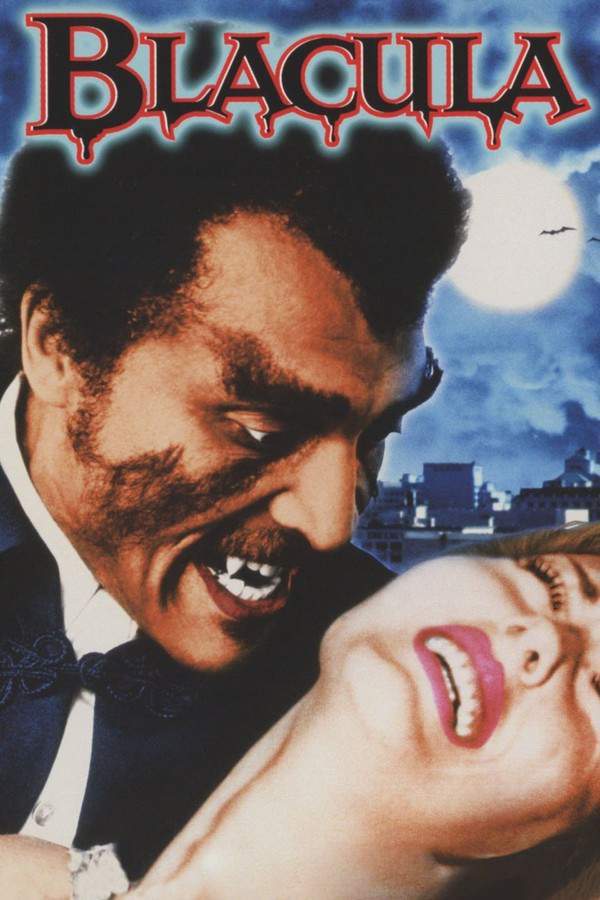
Scream Blacula Scream
1973

Scream Bloody Murder
2003

Scream Queen
2002
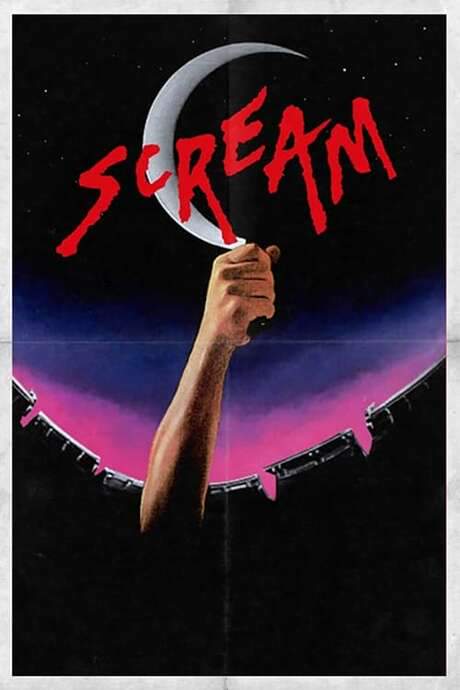
Scream
1981
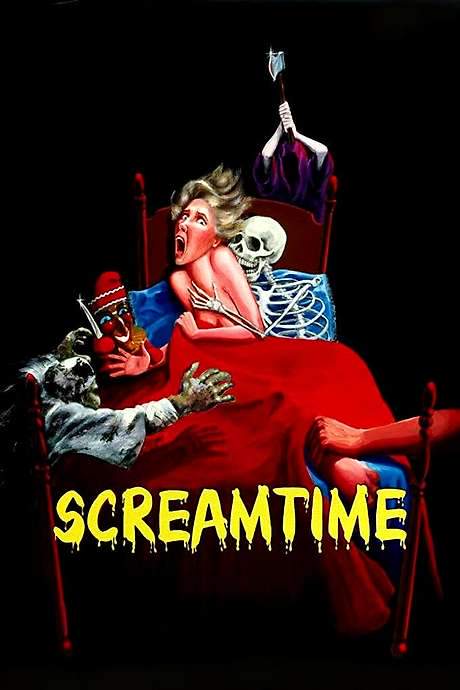
Screamtime
1983
Screamplay
1984

Scream Bloody Murder
1973

Silent Scream
1979

The Screaming Skull
1958

Scream of the Demon Lover
1970

A Scream in the Dark
1943
Explore More About Movie Scream and Scream Again
Scream and Scream Again (1970) Plot Summary & Movie Recap
Scream and Scream Again (1970) Scene-by-Scene Movie Timeline
Scream and Scream Again (1970) Spoiler-Free Summary & Key Flow
Movies Like Scream and Scream Again – Similar Titles You’ll Enjoy
Scream VI (2023) Movie Recap & Themes
Scream (2022) Plot Summary & Ending Explained
Scream (1996) Spoiler-Packed Plot Recap
Scream of Fear (1961) Movie Recap & Themes
Scream Blacula Scream (1973) Detailed Story Recap
Scream Bloody Murder (2003) Detailed Story Recap
Scream Queen (2002) Full Summary & Key Details
Scream (1981) Detailed Story Recap
Screamtime (1983) Detailed Story Recap
Screamplay (1984) Spoiler-Packed Plot Recap
Scream Bloody Murder (1973) Film Overview & Timeline
Silent Scream (1979) Complete Plot Breakdown
The Screaming Skull (1958) Ending Explained & Film Insights
Scream of the Demon Lover (1970) Ending Explained & Film Insights
A Scream in the Dark (1943) Ending Explained & Film Insights