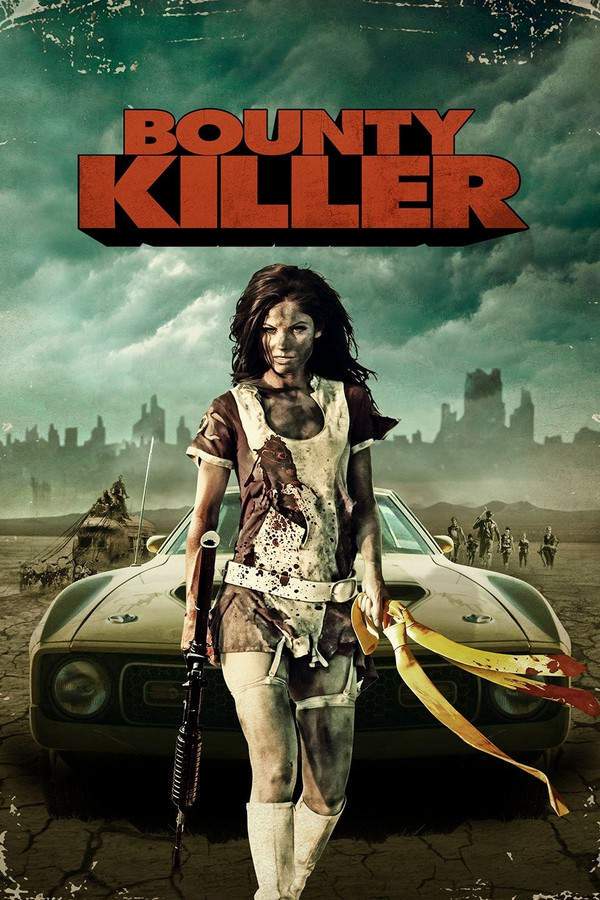
Bounty Killer
Year: 2013
Runtime: 92 min
Language: English
Director: Henry Saine
In a dystopian future, skilled bounty killers pursue the most dangerous criminals, navigating a world ravaged by conflict. Led by Matthew Marsden and Christian Pitre, these elite hunters are as charismatic as they are deadly. The film delivers a high-octane, visually striking experience as style and substance collide in a relentless game of cat and mouse.
Warning: spoilers below!
Haven’t seen Bounty Killer yet? This summary contains major spoilers. Bookmark the page, watch the movie, and come back for the full breakdown. If you're ready, scroll on and relive the story!
Bounty Killer (2013) – Full Plot Summary & Ending Explained
Read the complete plot breakdown of Bounty Killer (2013), including all key story events, major twists, and the ending explained in detail. Discover what really happened—and what it all means.
As the relentless pair of Drifter (Matthew Marsden) and Mary Death (Christian Pitre) make their entrance into San Dalloosa, the energy at Daft Willy’s Chop Shop and Bounty Supply is electric, welcoming them with unrestrained enthusiasm. This unique establishment, fashioned from a repurposed jet fuselage leftover from the Corporate Wars, serves as a crucial nexus for bounty hunters exchanging the remains of their fallen prey for cash. While Mary basks in the adulation of her supporters, Drifter maintains a stoic demeanor, slipping away to converse with Jack LeMans (Barak Hardley), a gun caddy offering his services. However, Drifter’s steadfastness keeps him at bay from Jack’s proposition, leading him back into the chaotic world of Willy’s chop shop.
Inside, Daft Willy (Kevin McNally), a menacing English thug sporting a blood-stained apron, reveals the grim news of a new death warrant for their acquaintance Snaggletooth Harry, triggering a wave of distress for Drifter. Meanwhile, Mary brings back a cart overflowing with the lifeless forms of executives she has collected, and upon witnessing Drifter’s alarmed reaction, she quips, “He must be your snitch.” Just then, Jack emerges from the remnants of Mary’s haul, desperately seeking validation for his claim of being the greatest gun caddy in the world. A moment of humor quickly turns tense as Drifter, Mary, and Willy point their weapons at Jack, who begs for mercy. In an unexpected act of compassion, Drifter offers him a chance, convinced Jack will meet his doom by week’s end.
As the bounty hunters exit, Willy’s gaze lands on another startling death warrant emerging from his Council-Comm printer, his expression hinting at a revelation that could disrupt the very foundation of their existence. Now joined by Jack, Drifter embarks on a treacherous ride across the dust-laden land on their chopper-scooter hybrid, engaging in a perilous game of catch, tossing firearms back and forth as their mission unfolds: to investigate the origin of Drifter’s infamous reputation and the bounty resting on his head. Meanwhile, Mary attends to her Mustang, which suffered severe damage due to the gruesome load it carried, vowing to remain emotionally detached as she watches a small car driven by the dubious Greg Gunney ([Jeff Meacham]) approach. Mary sees through Greg’s insincere sales pitch for the Wasteland Resorts, taking decisive action to eliminate him and his bodyguard, only to find a chilling death warrant inscribed with Drifter’s name within Greg’s vehicle.
Amidst the unfolding chaos, Drifter discovers duplicate death warrants in Drip Rock, realizing too late that this is a treacherous trap designed by his enemies. When Mary confronts him about the dire situation, questioning the implications of the ominous Francis Gorman poster, her rage erupts into a barrage of gunfire, sending Drifter crashing through a window. After regaining consciousness, he finds himself in a den of henchmen adorned in yellow ties and calls out for Jack’s assistance. Together, they dispatch their foes while debating the necessity of having Mary join their ranks. Just as the last adversary is defeated by a sniper, the chaos clears, allowing Mary to depart in her Mustang.
The tension escalates when Jack reveals the modifications he made to Mary’s car during their stay at the saloon, leading to an explosive escape that leaves Drifter glancing back to check on Mary’s safety, only to find her with a fiery intensity. As night falls over Drip Rock, Van Sterling ([Gary Busey]), a high-ranking executive from Second Sun, arrives in town, bemused by the aftermath of the battle. He engages a distressed minion, quickly discovering that the bounty hunters have slipped away toward the Council. In a sinister call to his superior, Catherine ([Kristanna Loken]), she insists he eliminate them before they can disrupt her plans.
Later, Drifter reveals the weight of his past to Jack, urging his friend to escape the oncoming storm, yet Jack pledges his unwavering allegiance. Suddenly, a knife-wielding assassin from a Gypsy faction pounces, marking the start of an arduous pursuit. Captured and taken to a Gypsy camp, Drifter and Jack endure a night of revelry as they await their fate. The enigmatic Mocha Sujata ([Eve Jeffers]), the Gypsy Queen, demands answers from Drifter regarding a girl named Nuri who vanished years ago, but he remains steadfast, enduring torture rather than divulging information.
In the eerie stillness of dawn, the revelers succumb to hangover-induced slumber while Drifter and Jack exploit their moment of vulnerability to escape. Their getaway involves an exhilarating chase led by Jack’s adrenaline-fueled drive from a Gypsy coach pursued by enraged tribesmen. Thanks to a rocket-launcher, they manage to make a narrow escape, leaving their so-called captors in their dust.
With Mary having reached the Thirsty Beaver, she reunites with Lucille ([Beverly D’Angelo]), the tavern’s enigmatic owner. She is rejuvenated with a bath and fresh armor, along with Lucille’s sage advice before heading back out into the unforgiving landscape. Meanwhile, searching in a junkyard, Jack and Drifter find a vintage Chevy Nova requiring the expertise of Jimbo ([Abraham Benrubi]), who is swayed to join their quest with a six-pack of Pabst Blue Ribbon in hand.
As Mary quests through the desolate Badlands, she stumbles upon the cartographer Azimuth, pleading for guidance to traverse the deadly expanse to the Council building. However, it’s only when he recognizes Mary’s legendary status that he agrees to help, albeit for a signature. The journey soon turns chaotic when Jimbo is shot during a celebratory moment, leading to a confrontation with Mary, who is urged by Jack to acknowledge Drifter’s loyalty when faced with danger. Ultimately, she surrenders to their cause and they head towards the Council, only to find the once-vibrant village ravaged by an army of yellow-clad warriors.
In a poignant reflection, Drifter admits to a connection with the fallen Council, revealing his past offer to join them, which he declined for the thrill of the bounty hunter’s path. Overwhelmed by their mission to seek revenge on Second Sun, their resolve falters when Van and Catherine capture them, later revealing their insidious plot to pin the massacre on Mary. In the midst of the ensuing chaos, Drifter is knocked unconscious while Mary battles fiercely, experiencing both triumph and injury.
Reawakening in the remnants of a Gypsy tent, a solemn Jack reveals the tribe’s loyalty to Mary after avenging their queen, leading them to combine forces to rescue Drifter from Second Sun. Inside the corporate stronghold, an uncharacteristic Drifter is propositioned by Catherine to reclaim his former CEO position. But just as he contemplates the offer, Mary and Jack crash in, unleashing havoc on the corporation’s employees. Unfortunately, the aftermath turns tragic as Mary’s confrontation with Catherine costs her life, igniting Drifter’s wrath and culminating in a showdown of vengeance.
With their daring escape complete, Mary and Drifter find solace at the Thirsty Beaver, savoring a brief reprieve while Jimbo rewards Jack for his bravery. As Mary prepares to confront Second Sun anew in a striking black leather outfit, Drifter’s lingering gaze fills with a mix of longing and resignation, whispering a warning that carries the weight of their tumultuous journey: “Come and get me, old man.”
Last Updated: November 19, 2024 at 15:47

Explore Movie Threads
Discover curated groups of movies connected by mood, themes, and story style. Browse collections built around emotion, atmosphere, and narrative focus to easily find films that match what you feel like watching right now.
Stylized Post-Apocalyptic Action Thrillers like Bounty Killer
Visually striking, high-octane adventures in lawless, ruined futures.If you enjoyed the gritty, high-octane world of Bounty Killer, you'll find similar thrills here. This list features movies with intense action, stylish visuals, and stories of survival set in dystopian futures. Explore films that share the same high-stakes, adrenaline-fueled vibe in a lawless wasteland.


Narrative Summary
Narratives typically follow a straightforward, often revenge-driven plot set against a backdrop of societal collapse. Characters are often skilled fighters or survivors pitted against powerful, corrupt forces. The journey is a relentless series of confrontations and narrow escapes, focusing on action and spectacle over complex character development.
Why These Movies?
Movies are grouped here based on their shared high-intensity pacing, tense tone, and commitment to a stylized, action-first experience within a post-apocalyptic or dystopian setting. They appeal to viewers seeking fast-paced, visually engaging stories with a gritty edge.
Bittersweet Cat-and-Mouse Action Pursuits like Bounty Killer
High-stakes hunts where victory comes with a heavy personal price.Fans of the tense chase and morally complex ending of Bounty Killer will appreciate these films. This selection features movies about professional hunters and deadly pursuits where the action is fast but the victory is bittersweet. Find similar stories of high-stakes hunts that leave a lasting impact.
The Bourne Supremacy
2004
Wanted
2008
The Hunter's Prayer
2017
Bounty Killer
2013
Assassin Club
2023

Not Safe for Work
2014

Force 2
2016

Endangered Species
2002

Midnight Sun
2006

Confidential Assignment 2: International
2022
Bounty Tracker
1993

Fast Track: No Limits
2008

Midnight Sun
2025

Silent Trigger
1996
War 2
2025
Narrative Summary
The core narrative is a linear pursuit, pitting a determined hunter against a skilled target. The plot is driven by chases, confrontations, and escalating stakes. While the immediate goal may be achieved, the emotional journey concludes on a note of ambiguity or sacrifice, suggesting the larger battle is never truly over.
Why These Movies?
These films are united by their FAST pacing, TENSE tone, and a shared narrative structure of a deadly cat-and-mouse game. The key grouping factor is the BITTERSWEET ending feel, where the action climax is undercut by a sense of loss or ongoing tension, creating a specific type of satisfying yet somber experience.
Unlock the Full Story of Bounty Killer
Don't stop at just watching — explore Bounty Killer in full detail. From the complete plot summary and scene-by-scene timeline to character breakdowns, thematic analysis, and a deep dive into the ending — every page helps you truly understand what Bounty Killer is all about. Plus, discover what's next after the movie.
Bounty Killer Timeline
Track the full timeline of Bounty Killer with every major event arranged chronologically. Perfect for decoding non-linear storytelling, flashbacks, or parallel narratives with a clear scene-by-scene breakdown.

Characters, Settings & Themes in Bounty Killer
Discover the characters, locations, and core themes that shape Bounty Killer. Get insights into symbolic elements, setting significance, and deeper narrative meaning — ideal for thematic analysis and movie breakdowns.


Similar Movies to Bounty Killer
Discover movies like Bounty Killer that share similar genres, themes, and storytelling elements. Whether you’re drawn to the atmosphere, character arcs, or plot structure, these curated recommendations will help you explore more films you’ll love.
Riddick
2013
The Bounty Hunter
2010
The Bounty Killer
2019
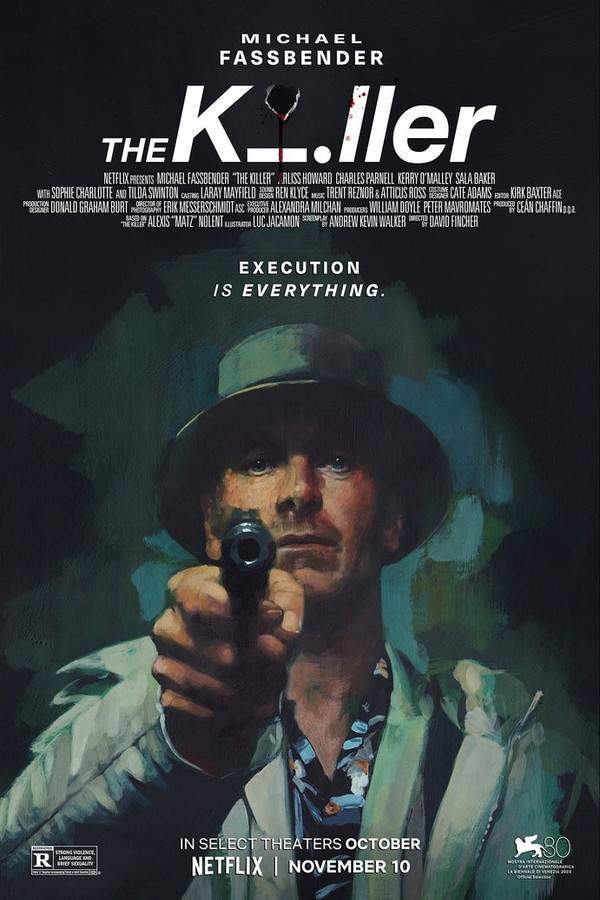
The Killer
2023

The Bounty Hunter
1989

L.A. Bounty
1989
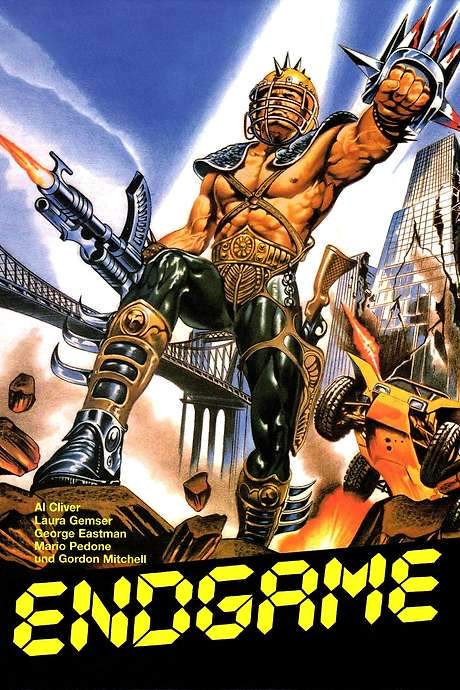
Endgame
1983

Wanted: Dead or Alive
1987

Wanted: Dead or Alive
1987
Bounty Tracker
1993

The Bounty Hunter
1954

Cold Harvest
1999

The Bounty Man
1972

Bounty Hunters 2: Hardball
1997

Bounty Hunters
1996
Explore More About Movie Bounty Killer
Bounty Killer (2013) Scene-by-Scene Movie Timeline
Bounty Killer (2013) Movie Characters, Themes & Settings
Bounty Killer (2013) Spoiler-Free Summary & Key Flow
Movies Like Bounty Killer – Similar Titles You’ll Enjoy
Riddick (2013) Complete Plot Breakdown
The Bounty Hunter (2010) Spoiler-Packed Plot Recap
The Bounty Killer (2019) Detailed Story Recap
The Killer (2023) Story Summary & Characters
The Bounty Hunter (1989) Ending Explained & Film Insights
L.A. Bounty (1989) Film Overview & Timeline
Endgame (1983) Plot Summary & Ending Explained
Wanted: Dead or Alive (1987) Full Summary & Key Details
Wanted: Dead or Alive (1987) Story Summary & Characters
Bounty Tracker (1993) Plot Summary & Ending Explained
The Bounty Hunter (1954) Movie Recap & Themes
Cold Harvest (1999) Movie Recap & Themes
The Bounty Man (1972) Story Summary & Characters
Bounty Hunters 2: Hardball (1997) Spoiler-Packed Plot Recap
Bounty Hunters (1996) Plot Summary & Ending Explained