
Watch Your Stern
Year: 1960
Runtime: 90 mins
Language: English
Director: Gerald Thomas
A slap‑slap comedy unfolds aboard a naval vessel when an inept seaman accidentally ruins the schematics for a secret torpedo. With the admiral desperate to present the plans to an important visiting scientist, the entire crew scrambles in a series of farcical mishaps to reconstruct the lost data before the deadline.
Warning: spoilers below!
Haven’t seen Watch Your Stern yet? This summary contains major spoilers. Bookmark the page, watch the movie, and come back for the full breakdown. If you're ready, scroll on and relive the story!
Timeline – Watch Your Stern (1960)
Trace every key event in Watch Your Stern (1960) with our detailed, chronological timeline. Perfect for unpacking nonlinear stories, spotting hidden connections, and understanding how each scene builds toward the film’s climax. Whether you're revisiting or decoding for the first time, this timeline gives you the full picture.
Last Updated: October 09, 2025 at 14:12

Explore Movie Threads
Discover curated groups of movies connected by mood, themes, and story style. Browse collections built around emotion, atmosphere, and narrative focus to easily find films that match what you feel like watching right now.
Movies with farcical chaos like Watch Your Stern
Stories where a single mistake spirals into a hurricane of comedic chaos.If you enjoyed the domino effect of comedic disasters in Watch Your Stern, you'll love these movies. This section features comedies where a simple blunder triggers a series of frantic cover-ups and slapstick mishaps, creating a similar vibe of fast-paced, lighthearted chaos and hilarious desperation.

Screwed
2000
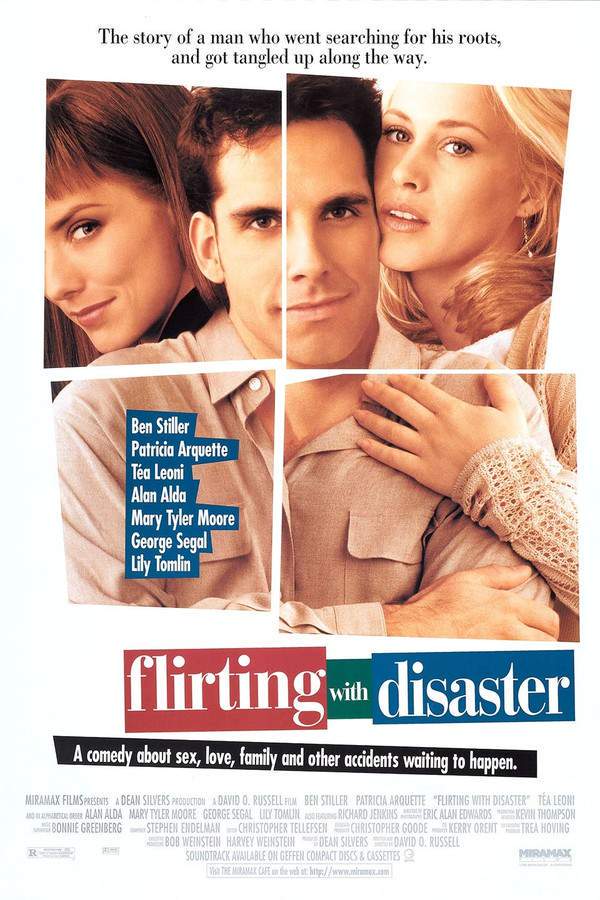
Flirting with Disaster
1996
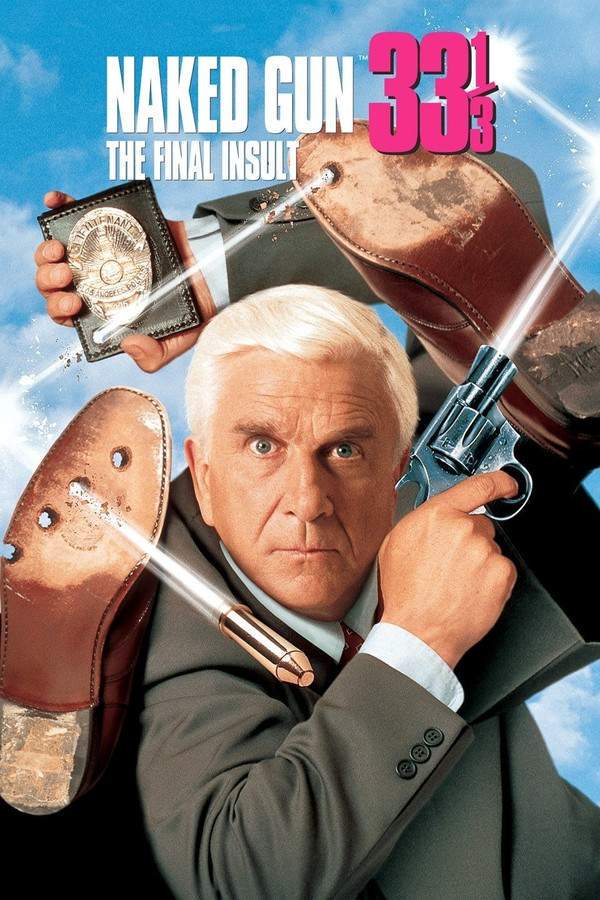
Naked Gun 33 1/3: The Final Insult
1994
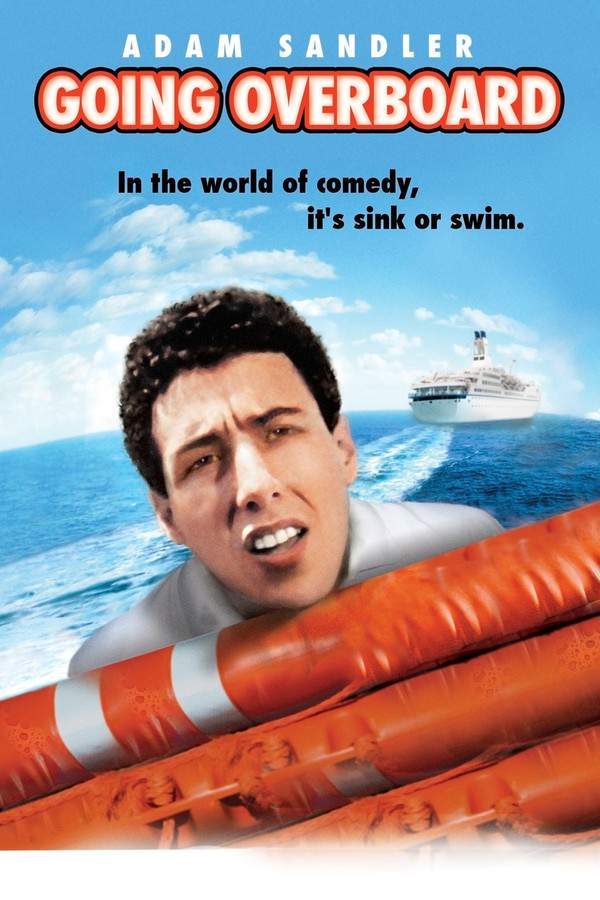
Going Overboard
1989

Delta Farce
2007
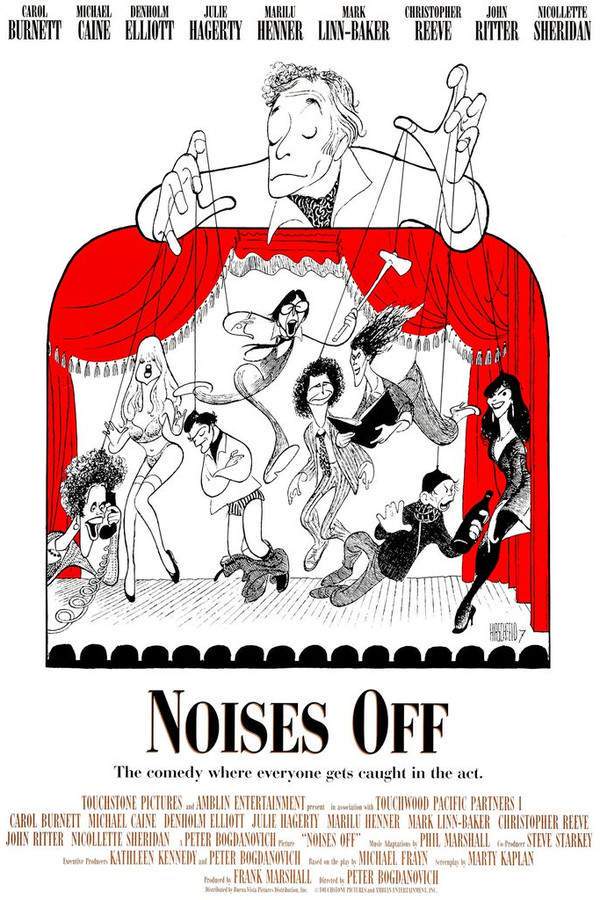
Noises Off...
1992
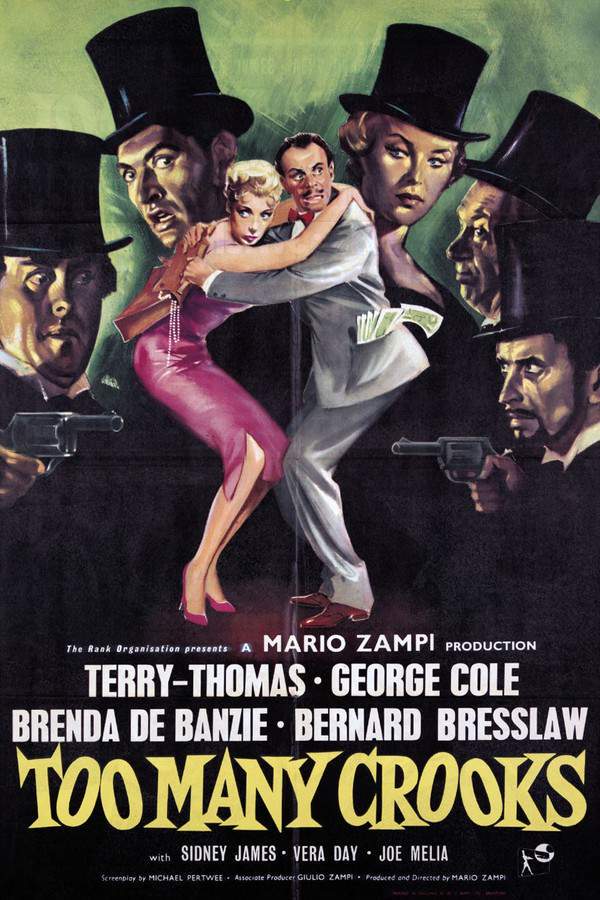
Too Many Crooks
1959

Humshakals
2014

A Plumbing We Will Go
1940

An Ache in Every Stake
1941

3 Nuts in Search of a Bolt
1964

A Merry Mix-Up
1957

Termites of 1938
1938

What’s Up, Doc?
1972

Studio Stoops
1950
Narrative Summary
The narrative follows a straightforward cause-and-effect chain, often starting with a minor blunder that characters desperately try to hide. Their attempts at a solution only compound the problem, leading to a climax of total, absurd chaos before a resolution that is often as messy and humorous as the journey itself.
Why These Movies?
These films are grouped together because they share a specific comedic rhythm: high-energy pacing, a light tone that embraces silliness, and a plot driven by the sheer momentum of things going wrong. The mood is consistently comic, chaotic, and breezy, prioritizing laughs over serious stakes.
Comedies about institutional absurdity like Watch Your Stern
Comedies where rigid systems crumble under the weight of human error and folly.Fans of Watch Your Stern's naval setting and bureaucratic mishap will appreciate these movies. Discover similar comedies set within rigid systems—like the military, government, or big business—where serious rules and secret plans are hilariously undermined by clumsy individuals and farcical misunderstandings.

Police Academy
1984
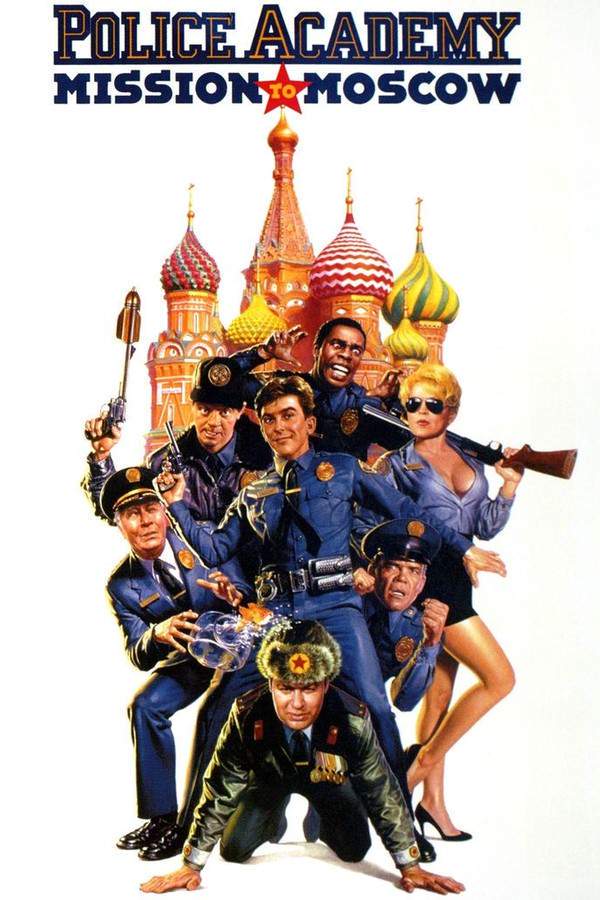
Police Academy: Mission to Moscow
1994
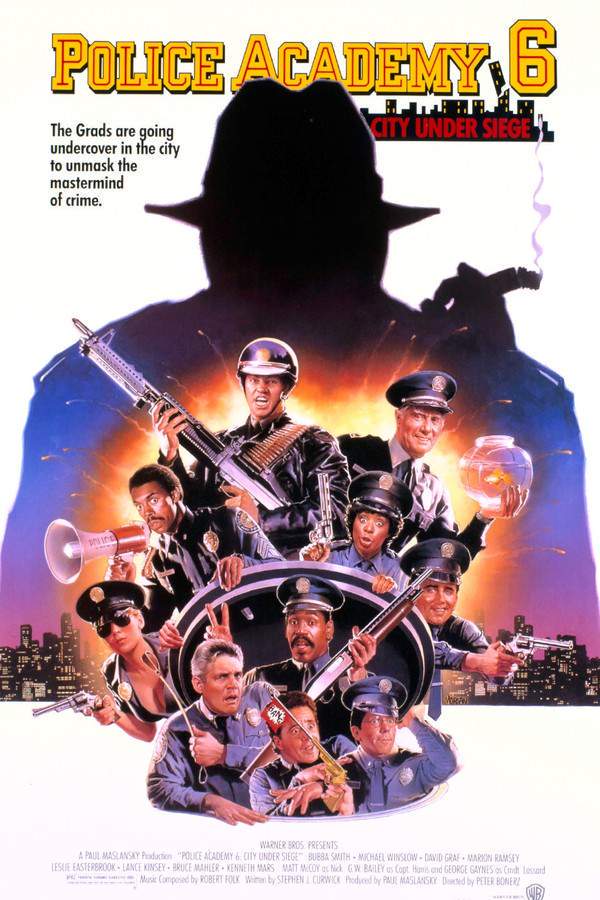
Police Academy 6: City Under Siege
1989
Going Overboard
1989

Up the Academy
1980
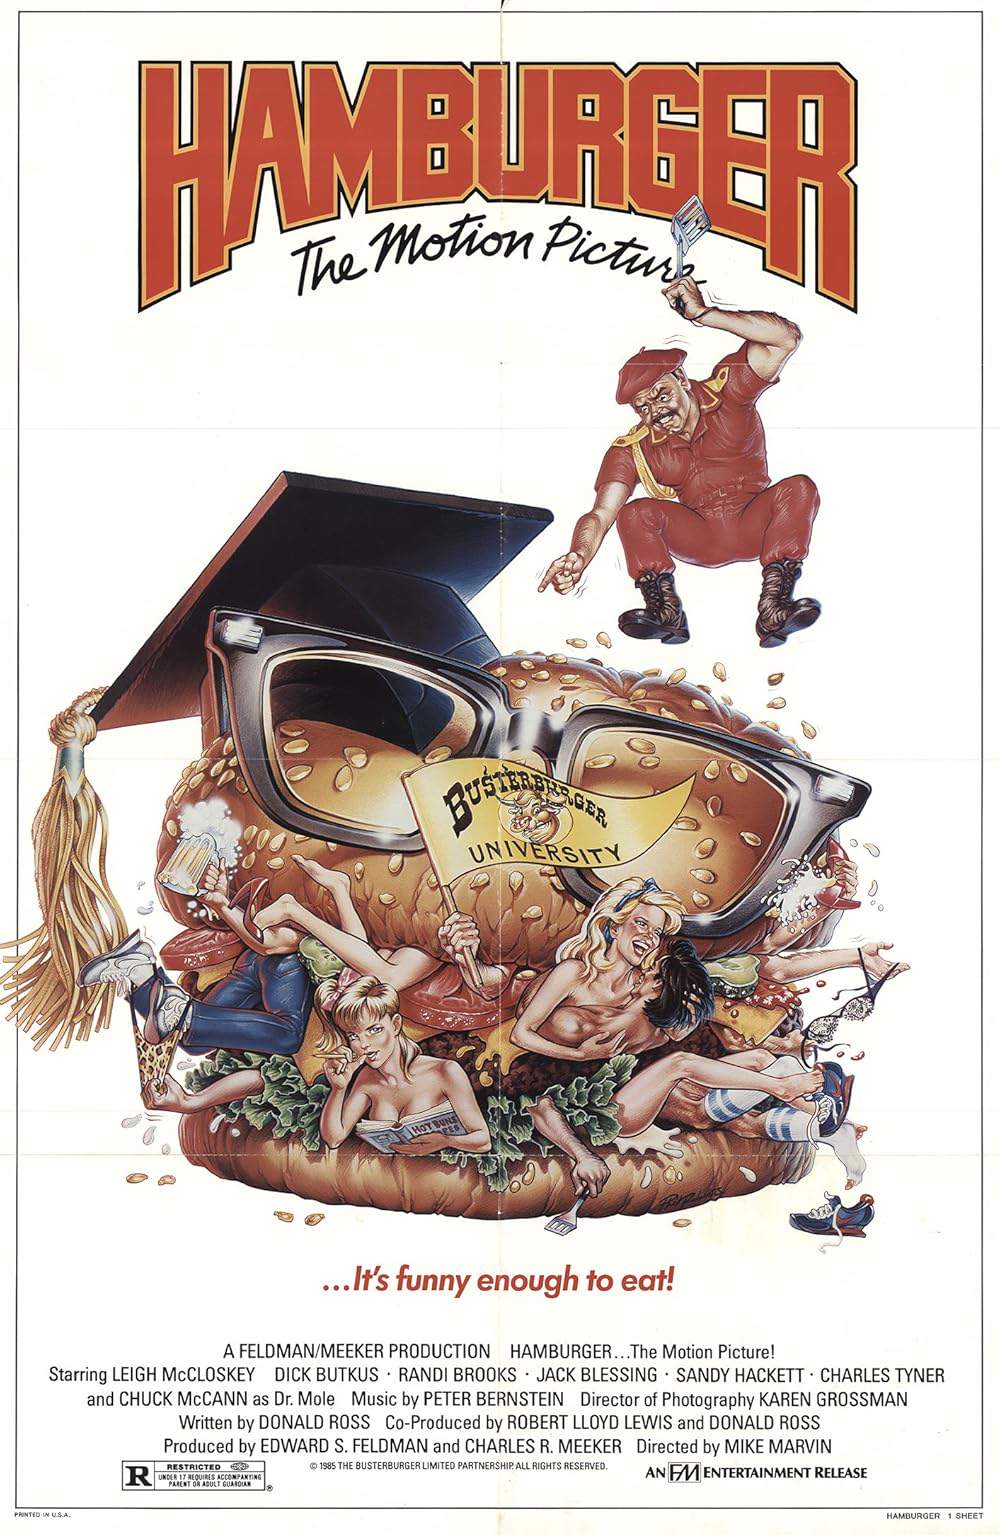
Hamburger: The Motion Picture
1986
Watch Your Stern
1960

Here Come the Marines
1952

Army Daze
1996

The Adventures of a Rookie
1943

Dutiful But Dumb
1941

Private’s Progress
1956

In the Army Now
1994

PCU
1994

The Inspector-General
1952
Narrative Summary
The plot typically revolves around a high-stakes secret or important project within a formal organization. This order is disrupted by an inept but well-meaning character, forcing the entire system to engage in a series of ridiculous, often clandestine, maneuvers to save face, creating comedy from the contrast between official dignity and underlying chaos.
Why These Movies?
These movies share a common setting and thematic focus: they use a formal, often serious, institution as a backdrop for comedy. The humor derives from the inherent absurdity of trying to apply rigid rules to unpredictable human error, resulting in a specific vibe of satirical, situational farce.
Unlock the Full Story of Watch Your Stern
Don't stop at just watching — explore Watch Your Stern in full detail. From the complete plot summary and scene-by-scene timeline to character breakdowns, thematic analysis, and a deep dive into the ending — every page helps you truly understand what Watch Your Stern is all about. Plus, discover what's next after the movie.
Watch Your Stern Summary
Read a complete plot summary of Watch Your Stern, including all key story points, character arcs, and turning points. This in-depth recap is ideal for understanding the narrative structure or reviewing what happened in the movie.

Characters, Settings & Themes in Watch Your Stern
Discover the characters, locations, and core themes that shape Watch Your Stern. Get insights into symbolic elements, setting significance, and deeper narrative meaning — ideal for thematic analysis and movie breakdowns.


Similar Movies to Watch Your Stern
Discover movies like Watch Your Stern that share similar genres, themes, and storytelling elements. Whether you’re drawn to the atmosphere, character arcs, or plot structure, these curated recommendations will help you explore more films you’ll love.

Star Wreck: In the Pirkinning
2005

Up Your Anchor
1985

A Submarine Pirate
1915

You’re in the Navy Now
1951
Shipmates
1931

Submarine Patrol
1938

Sailors, Beware!
1927

We Joined the Navy
1962

Saps at Sea
1940

Watch the Birdie
1935

Ensign Pulver
1964

Up the Creek
1958

Three Little Sew and Sews
1939

Sailors Three
1940

Carry On Admiral
1957
Explore More About Movie Watch Your Stern
Watch Your Stern (1960) Plot Summary & Movie Recap
Watch Your Stern (1960) Scene-by-Scene Movie Timeline
Watch Your Stern (1960) Spoiler-Free Summary & Key Flow
Movies Like Watch Your Stern – Similar Titles You’ll Enjoy
Star Wreck: In the Pirkinning (2005) Movie Recap & Themes
Up Your Anchor (1985) Complete Plot Breakdown
A Submarine Pirate (1915) Story Summary & Characters
You’re in the Navy Now (1951) Plot Summary & Ending Explained
Shipmates (1931) Complete Plot Breakdown
Submarine Patrol (1938) Movie Recap & Themes
Sailors, Beware! (1927) Full Movie Breakdown
We Joined the Navy (1962) Movie Recap & Themes
Saps at Sea (1940) Story Summary & Characters
Watch the Birdie (1935) Full Summary & Key Details
Ensign Pulver (1964) Movie Recap & Themes
Up the Creek (1958) Film Overview & Timeline
Three Little Sew and Sews (1939) Plot Summary & Ending Explained
Sailors Three (1940) Story Summary & Characters
Carry On Admiral (1957) Complete Plot Breakdown