The Taking of Pelham One Two Three
Year: 1974
Runtime: 104 mins
Language: English
Director: Joseph Sargent
Armed men hijack a Manhattan subway train, threatening to kill a passenger every minute unless the city pays a $1 million ransom. As negotiators scramble, the criminals must devise a way to escape with the money while the hostages' lives hang in the balance.
Warning: spoilers below!
Haven’t seen The Taking of Pelham One Two Three yet? This summary contains major spoilers. Bookmark the page, watch the movie, and come back for the full breakdown. If you're ready, scroll on and relive the story!
Timeline – The Taking of Pelham One Two Three (1974)
Trace every key event in The Taking of Pelham One Two Three (1974) with our detailed, chronological timeline. Perfect for unpacking nonlinear stories, spotting hidden connections, and understanding how each scene builds toward the film’s climax. Whether you're revisiting or decoding for the first time, this timeline gives you the full picture.
Last Updated: October 09, 2025 at 11:17
Explore Movie Threads
Discover curated groups of movies connected by mood, themes, and story style. Browse collections built around emotion, atmosphere, and narrative focus to easily find films that match what you feel like watching right now.
High-Stakes Urban Siege Thrillers like The Taking of Pelham One Two Three
Gritty crime stories where a city becomes the battleground for a tense hostage crisis.If you liked the tense, city-wide crisis in 'The Taking of Pelham One Two Three,' explore more movies like it. This collection features gripping thrillers about hostage negotiations, strategic heists, and tense standoffs that turn urban landscapes into claustrophobic battlegrounds, perfect for fans of procedural crime dramas.
Narrative Summary
These narratives typically begin with a sudden, violent incursion into a public or civic space. The plot revolves around the dual perspectives of the criminals executing a meticulous plan and the authorities scrambling to contain the situation. The structure is defined by escalating demands, fraught negotiations, and the constant, looming threat to innocent lives, building to a climactic confrontation or escape attempt.
Why These Movies?
Movies in this thread share a core DNA of tension derived from a confined setting within a larger city, a methodical crime, and a procedural approach to the resolution. They are united by a gritty, realistic tone, fast pacing driven by a deadline, and a focus on the strategic battle of wits between opposing sides.
Methodical Cat-and-Mouse Crime Procedurals like The Taking of Pelham One Two Three
Stories where the meticulous plans of criminals meet the shrewd logic of their pursuers.Fans of the strategic battle in 'The Taking of Pelham One Two Three' will enjoy these similar movies. This list features clever crime stories where the focus is on the meticulous plans of criminals and the equally cunning efforts to stop them, offering a satisfying, logic-driven tension.
Narrative Summary
The narrative pattern is built around a well-defined scheme, often a heist or ransom plot, which is revealed to the audience. The conflict arises as a protagonist—a detective, negotiator, or insurance investigator—methodically pieces together clues or engages in a psychological battle to disrupt the plan. The enjoyment comes from observing the intricate details of both the crime and the pursuit.
Why These Movies?
These movies are grouped by their shared emphasis on process and intellect over sheer force. They possess a moderate complexity that rewards attention to detail, a tone that is consistently tense but controlled, and a pacing that is fast due to narrative urgency but feels methodical in its execution.
Unlock the Full Story of The Taking of Pelham One Two Three
Don't stop at just watching — explore The Taking of Pelham One Two Three in full detail. From the complete plot summary and scene-by-scene timeline to character breakdowns, thematic analysis, and a deep dive into the ending — every page helps you truly understand what The Taking of Pelham One Two Three is all about. Plus, discover what's next after the movie.
The Taking of Pelham One Two Three Summary
Read a complete plot summary of The Taking of Pelham One Two Three, including all key story points, character arcs, and turning points. This in-depth recap is ideal for understanding the narrative structure or reviewing what happened in the movie.

Characters, Settings & Themes in The Taking of Pelham One Two Three
Discover the characters, locations, and core themes that shape The Taking of Pelham One Two Three. Get insights into symbolic elements, setting significance, and deeper narrative meaning — ideal for thematic analysis and movie breakdowns.

The Taking of Pelham One Two Three Spoiler-Free Summary
Get a quick, spoiler-free overview of The Taking of Pelham One Two Three that covers the main plot points and key details without revealing any major twists or spoilers. Perfect for those who want to know what to expect before diving in.

More About The Taking of Pelham One Two Three
Visit What's After the Movie to explore more about The Taking of Pelham One Two Three: box office results, cast and crew info, production details, post-credit scenes, and external links — all in one place for movie fans and researchers.

Similar Movies to The Taking of Pelham One Two Three
Discover movies like The Taking of Pelham One Two Three that share similar genres, themes, and storytelling elements. Whether you’re drawn to the atmosphere, character arcs, or plot structure, these curated recommendations will help you explore more films you’ll love.
Explore More About Movie The Taking of Pelham One Two Three
The Taking of Pelham One Two Three (1974) Plot Summary & Movie Recap
The Taking of Pelham One Two Three (1974) Scene-by-Scene Movie Timeline
The Taking of Pelham One Two Three (1974) Spoiler-Free Summary & Key Flow
Movies Like The Taking of Pelham One Two Three – Similar Titles You’ll Enjoy
Inside Man: Most Wanted (2019) Story Summary & Characters
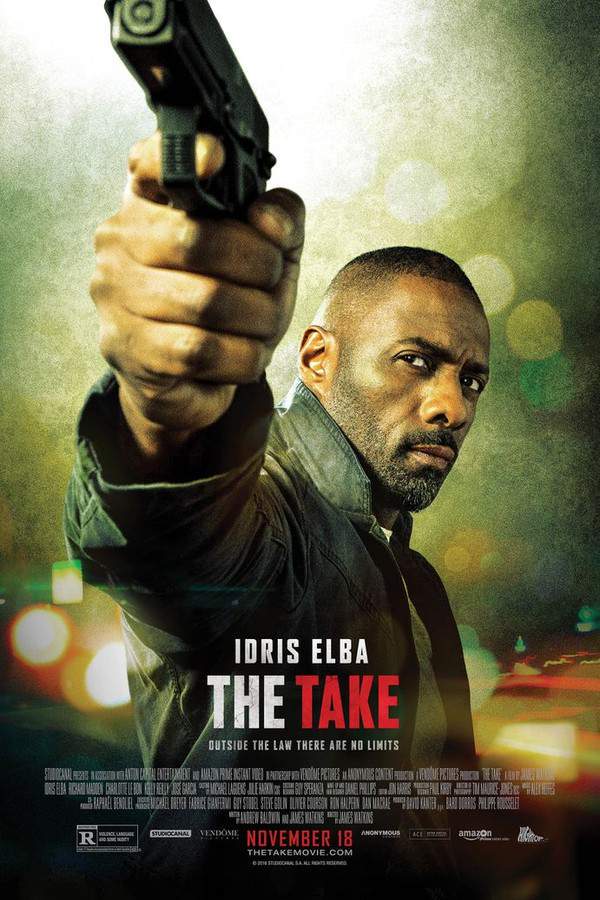
The Take (2016) Film Overview & Timeline
Ransom (1996) Film Overview & Timeline
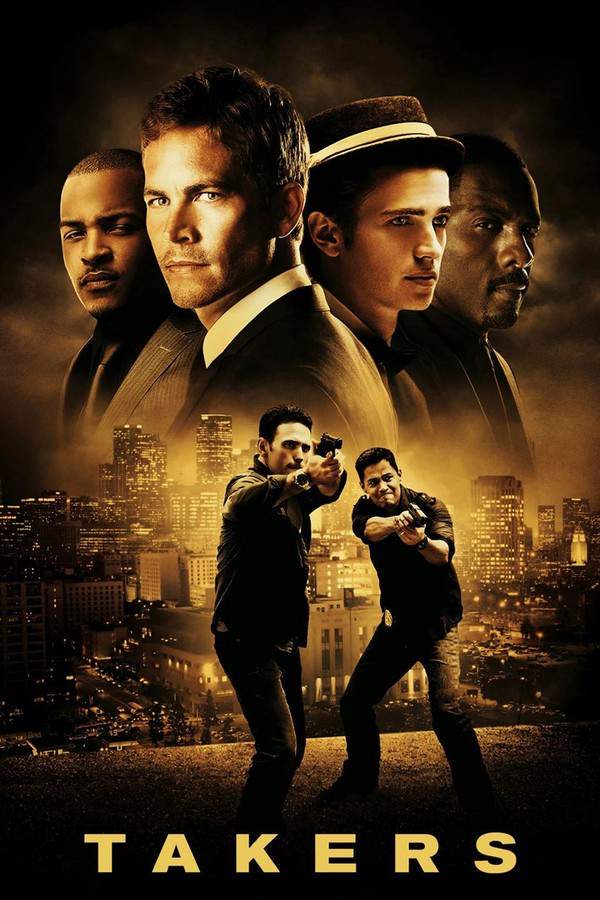
Takers (2010) Spoiler-Packed Plot Recap
Subway (1985) Full Movie Breakdown
Union Station (1950) Plot Summary & Ending Explained
Money Train (1995) Full Summary & Key Details
The Taking of Pelham One Two Three (1998) Detailed Story Recap
Taking Manhattan (1992) Ending Explained & Film Insights
Hijack (1999) Full Movie Breakdown
The Take (1974) Spoiler-Packed Plot Recap
Across 110th Street (1972) Detailed Story Recap
The Lineup (1958) Plot Summary & Ending Explained
The Black Windmill (1974) Full Summary & Key Details
Palermo – Milan One Way (1995) Detailed Story Recap

