Bionicle 3: Web of Shadows
Year: 2005
Runtime: 75 mins
Language: English
Directors: Terry Shakespeare, David Molina
The climactic struggle for Metru Nui erupts when the Toa Metru return to their once‑glorious city, only to find it ravaged and overrun by the ferocious Visorak. Captured by this new enemy, they are transformed into the hideous Toa Hordika. To cure their mutations and fulfill their destiny, they must locate a legendary figure whose aid can restore them before the darkness inside consumes them.
Warning: spoilers below!
Haven’t seen Bionicle 3: Web of Shadows yet? This summary contains major spoilers. Bookmark the page, watch the movie, and come back for the full breakdown. If you're ready, scroll on and relive the story!
Bionicle 3: Web of Shadows (2005) – Full Plot Summary & Ending Explained
Read the complete plot breakdown of Bionicle 3: Web of Shadows (2005), including all key story events, major twists, and the ending explained in detail. Discover what really happened—and what it all means.
Makuta, the Master of Shadows, remains imprisoned in a crystal prison after the events of the previous film. A mysterious figure speaks Makuta’s name, scratches the prison, and pulls out a shard. This figure is Roodaka, queen of the Visorak horde, who implants the shard as a heartstone and vows to free Makuta.
Vakama, a Turaga, narrates the tale of the Toa Metru. The Toa Metru — Nokama, Matau, Onewa, Whenua, and Nuju — left Metru Nui after using their elemental powers to seal Makuta in protodermis, vowing to return to rescue the Matoran they left behind. In their absence, Metru Nui falls to the Visorak horde under Sidorak and Roodaka.
The Toa Metru arrive on the shore of Metru Nui and approach the Coliseum where Matoran are kept, only to be ambushed by Visorak and captured. They are brought to the Coliseum, where Roodaka suggests they are infused with the Visorak venom and mutated into beast-like forms. Ordered by Sidorak to be killed, the Toa are sent plummeting to their deaths, but are saved by six flying Rahaga led by Norik.
In a crucial revelation, Norik explains that the Visorak venom mutates the Toa into Hordika, keeping them in their beastly states unless the venom is neutralized in time. Their only hope to return to normal is an ancient hermit-like Rahi named Keetongu—a figure many deem a myth. Vakama grows agitated over the mounting blame, storms off, and attempts to rescue the Matoran alone, only to be captured again. Roodaka takes advantage of his anger by offering a deal: if he leads the Visorak horde, he can rule Metru Nui.
The other Toa and the Rahaga journey to the Great Temple in Ga-Metru to seek clues to [Keetongu]’s whereabouts, and eventually the hermit agrees to aid them. The party returns to the Coliseum to challenge the Visorak. Matau confronts Vakama, while [Keetongu] goes after the king and queen. Roodaka orchestrates the death of Sidorak by leaving him to be killed by Keetongu. Matau tries to reason with Vakama, apologizing for doubting his leadership and reminding him of his duty and destiny to rescue the Matoran.
Norik frees his fellow Rahaga and joins the Toa, but Roodaka arrives and demands control over the Toa’s elemental powers. Vakama and Matau rejoin the team, with Vakama feigning continued loyalty to Roodaka. After the others fail to defeat Roodaka with their elemental spinner weapons, Vakama reveals his true change of heart and orders the Visorak to depart and be free; the horde obeys. Unaware that Roodaka’s heartstone is the shard Makuta’s prison, Vakama then fires his own spinner at it, inadvertently breaking the seal and freeing Makuta. The Master of Shadows uses his powers to teleport the incapacitated Roodaka to safety. Norik, fully understanding the gravity of the moment, keeps vigil as Makuta vents his newfound freedom, while Keetongu restores the Hordika to their Toa Metru forms. The Toa bid farewell to the Rahaga and depart Metru Nui with the Matoran, hopeful yet wary of the challenges ahead.
Turaga Vakama concludes the story he had been recounting to Takanuva, Jaller, and Hahli after the events of the first film. As they walk away, he tells them that it is time for them to discover their own destinies.
Last Updated: October 09, 2025 at 16:46
Explore Movie Threads
Discover curated groups of movies connected by mood, themes, and story style. Browse collections built around emotion, atmosphere, and narrative focus to easily find films that match what you feel like watching right now.
Movies with Cursed Heroes like Bionicle 3: Web of Shadows
Stories where heroes are physically transformed and must fight their inner darkness.If you liked the heroic struggle against mutation in Bionicle 3, explore these movies where characters are physically transformed. Find similar action-packed stories about heroes battling a monstrous curse, fighting inner darkness, and racing against time for a cure.
Narrative Summary
The narrative follows a hero or group of heroes who are physically cursed or mutated, often against their will. The plot revolves around their quest for a reversal, which is complicated by the temptations and challenges of their new form. A key conflict is the internal battle to resist the darkness or beastial nature their transformation brings.
Why These Movies?
These movies are grouped by the central theme of physical transformation as a catalyst for both external conflict and profound internal struggle. They share a high-stakes atmosphere where the heroes' very identities are at risk, creating a tense and urgent mood.
Movies with Desperate Rescue Missions like Bionicle 3: Web of Shadows
Urgent missions to save a fallen city or civilization from a monstrous horde.Fans of the high-stakes mission to reclaim Metru Nui in Bionicle 3 will enjoy these movies. Discover similar stories of heroes on a desperate rescue mission in a ruined world, battling monstrous hordes and racing against time in a tense, action-packed adventure.
Narrative Summary
The narrative structure is a straightforward but urgent quest: infiltrate a fallen domain, confront the occupying force (often a horde of creatures), and achieve a critical objective like a rescue or retrieval. The setting itself is a character—a devastated version of a familiar or glorious place—that amplifies the stakes and the heroes' determination.
Why These Movies?
These films are united by the specific scenario of a rescue or reclamation mission within a hostile, ruined environment. They share a fast pace, high intensity, and a tense tone driven by constant action and the pressing threat of a monstrous enemy force.
Unlock the Full Story of Bionicle 3: Web of Shadows
Don't stop at just watching — explore Bionicle 3: Web of Shadows in full detail. From the complete plot summary and scene-by-scene timeline to character breakdowns, thematic analysis, and a deep dive into the ending — every page helps you truly understand what Bionicle 3: Web of Shadows is all about. Plus, discover what's next after the movie.
Bionicle 3: Web of Shadows Timeline
Track the full timeline of Bionicle 3: Web of Shadows with every major event arranged chronologically. Perfect for decoding non-linear storytelling, flashbacks, or parallel narratives with a clear scene-by-scene breakdown.
Characters, Settings & Themes in Bionicle 3: Web of Shadows
Discover the characters, locations, and core themes that shape Bionicle 3: Web of Shadows. Get insights into symbolic elements, setting significance, and deeper narrative meaning — ideal for thematic analysis and movie breakdowns.

Bionicle 3: Web of Shadows Spoiler-Free Summary
Get a quick, spoiler-free overview of Bionicle 3: Web of Shadows that covers the main plot points and key details without revealing any major twists or spoilers. Perfect for those who want to know what to expect before diving in.

More About Bionicle 3: Web of Shadows
Visit What's After the Movie to explore more about Bionicle 3: Web of Shadows: box office results, cast and crew info, production details, post-credit scenes, and external links — all in one place for movie fans and researchers.

Similar Movies to Bionicle 3: Web of Shadows
Discover movies like Bionicle 3: Web of Shadows that share similar genres, themes, and storytelling elements. Whether you’re drawn to the atmosphere, character arcs, or plot structure, these curated recommendations will help you explore more films you’ll love.
Explore More About Movie Bionicle 3: Web of Shadows
Bionicle 3: Web of Shadows (2005) Scene-by-Scene Movie Timeline
Bionicle 3: Web of Shadows (2005) Movie Characters, Themes & Settings
Bionicle 3: Web of Shadows (2005) Spoiler-Free Summary & Key Flow
Movies Like Bionicle 3: Web of Shadows – Similar Titles You’ll Enjoy
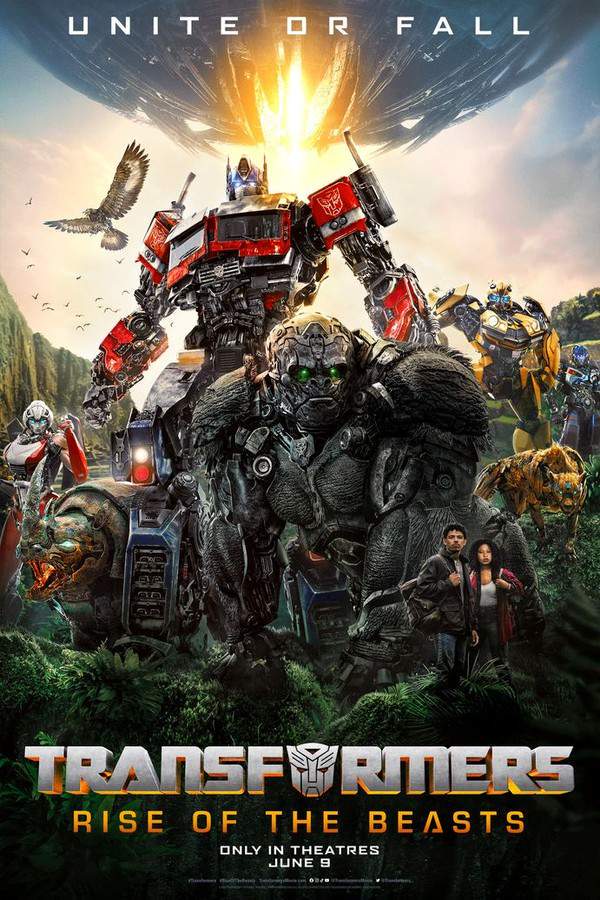
Transformers: Rise of the Beasts (2023) Full Summary & Key Details
Teenage Mutant Ninja Turtles III (1993) Full Summary & Key Details
Lego Star Wars Terrifying Tales (2021) Ending Explained & Film Insights
GoBots: Battle of the Rock Lords (1986) Plot Summary & Ending Explained
Satria Heroes: Revenge of Darkness (2017) Spoiler-Packed Plot Recap
Robotech: The Shadow Chronicles (2006) Movie Recap & Themes
Bionicle: Mask of Light (2003) Film Overview & Timeline
Beyblade the Movie: Fierce Battle (2002) Film Overview & Timeline
Inhumanoids: The Movie (1986) Full Summary & Key Details
Transformers: The Return of Optimus Prime (1987) Full Summary & Key Details
Time Bokan: Royal Revival (1000) Detailed Story Recap
Rebirth of Mothra III (1998) Complete Plot Breakdown
Beast Wars II: Lio Convoy’s Close Call! (1998) Complete Plot Breakdown
Gamera 3: Revenge of Iris (1999) Ending Explained & Film Insights
Bionicle: The Legend Reborn (2009) Complete Plot Breakdown

