The Falcon in San Francisco
Year: 1945
Runtime: 66 mins
Language: English
Director: Joseph H. Lewis
The lure of loveliness and a greed for gold draw four people toward a terrifying death, while the Falcon confronts his most merciless foe. On vacation, he is arrested for kidnapping after forming a friendship with a girl whose nurse has recently been murdered.
Warning: spoilers below!
Haven’t seen The Falcon in San Francisco yet? This summary contains major spoilers. Bookmark the page, watch the movie, and come back for the full breakdown. If you're ready, scroll on and relive the story!
Timeline – The Falcon in San Francisco (1945)
Trace every key event in The Falcon in San Francisco (1945) with our detailed, chronological timeline. Perfect for unpacking nonlinear stories, spotting hidden connections, and understanding how each scene builds toward the film’s climax. Whether you're revisiting or decoding for the first time, this timeline gives you the full picture.
Last Updated: October 09, 2025 at 11:28
Explore Movie Threads
Discover curated groups of movies connected by mood, themes, and story style. Browse collections built around emotion, atmosphere, and narrative focus to easily find films that match what you feel like watching right now.
Fast-paced crime thrillers like The Falcon in San Francisco
Action-packed mysteries where danger escalates rapidly to a fiery conclusion.If you enjoyed the rapid-fire action and escalating danger in The Falcon in San Francisco, you'll find more movies like it here. This collection features tense mysteries and crime stories with a fast pace, high stakes, and explosive conclusions that keep you on the edge of your seat.
Narrative Summary
The narrative typically involves a hero, often an investigator or an accidental participant, being pulled into a criminal conspiracy. The plot unfolds through a series of chases, confrontations, and reveals, building momentum towards a final, high-intensity confrontation that resolves the central conflict, often at a significant cost.
Why These Movies?
Movies are grouped here for their shared combination of a brisk pace, a tense atmosphere, and a plot driven by immediate physical danger. They deliver a consistent experience of suspense and excitement, appealing to viewers who enjoy thrillers that prioritize action and forward momentum.
Bittersweet noir stories like The Falcon in San Francisco
Mysteries where solving the case comes with a heavy, personal price.For viewers who appreciated the costly resolution in The Falcon in San Francisco, this thread gathers similar noir and crime films. Discover movies like it where the detective's success is bittersweet, featuring moral complexity and endings that resonate with a sense of sacrifice or hard-won truth.
Narrative Summary
A sleuth navigates a web of deceit and crime, uncovering hidden identities and dark motives. The investigation is successful, but the conclusion is not a clean victory. Key characters may be lost, the protagonist is changed by the experience, and the outcome underscores the grim realities of the criminal world, leaving a lasting emotional impact.
Why These Movies?
This thread connects films that share a specific emotional arc: the satisfaction of a solved mystery is balanced by the sorrow of its consequences. They blend the intellectual engagement of a puzzle with the emotional weight of a drama, creating a more nuanced and memorable viewing experience.
Unlock the Full Story of The Falcon in San Francisco
Don't stop at just watching — explore The Falcon in San Francisco in full detail. From the complete plot summary and scene-by-scene timeline to character breakdowns, thematic analysis, and a deep dive into the ending — every page helps you truly understand what The Falcon in San Francisco is all about. Plus, discover what's next after the movie.
The Falcon in San Francisco Summary
Read a complete plot summary of The Falcon in San Francisco, including all key story points, character arcs, and turning points. This in-depth recap is ideal for understanding the narrative structure or reviewing what happened in the movie.

Characters, Settings & Themes in The Falcon in San Francisco
Discover the characters, locations, and core themes that shape The Falcon in San Francisco. Get insights into symbolic elements, setting significance, and deeper narrative meaning — ideal for thematic analysis and movie breakdowns.

The Falcon in San Francisco Spoiler-Free Summary
Get a quick, spoiler-free overview of The Falcon in San Francisco that covers the main plot points and key details without revealing any major twists or spoilers. Perfect for those who want to know what to expect before diving in.

More About The Falcon in San Francisco
Visit What's After the Movie to explore more about The Falcon in San Francisco: box office results, cast and crew info, production details, post-credit scenes, and external links — all in one place for movie fans and researchers.

Similar Movies to The Falcon in San Francisco
Discover movies like The Falcon in San Francisco that share similar genres, themes, and storytelling elements. Whether you’re drawn to the atmosphere, character arcs, or plot structure, these curated recommendations will help you explore more films you’ll love.
Explore More About Movie The Falcon in San Francisco
The Falcon in San Francisco (1945) Plot Summary & Movie Recap
The Falcon in San Francisco (1945) Scene-by-Scene Movie Timeline
The Falcon in San Francisco (1945) Spoiler-Free Summary & Key Flow
Movies Like The Falcon in San Francisco – Similar Titles You’ll Enjoy
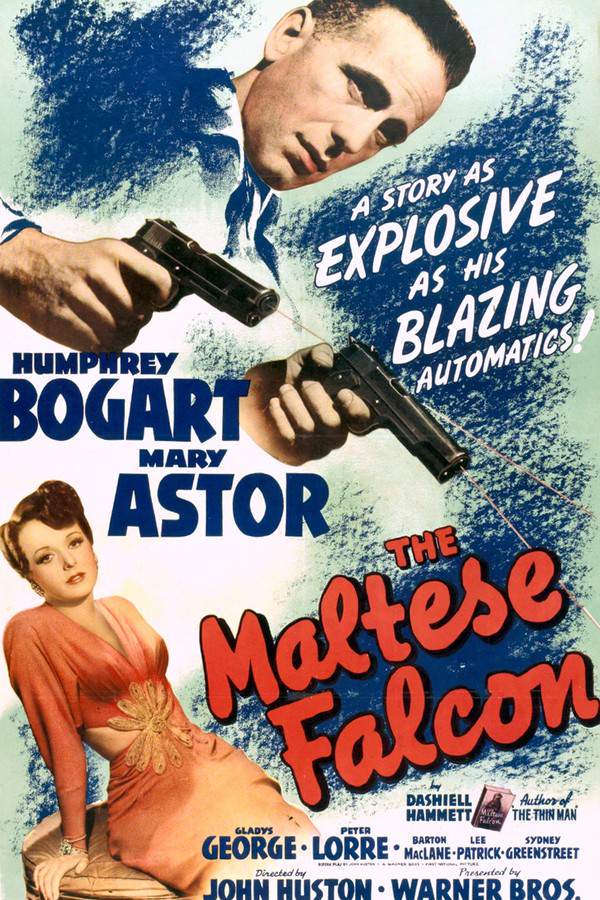
The Maltese Falcon (1941) Movie Recap & Themes
The Gay Falcon (1941) Full Summary & Key Details
The Falcon Strikes Back (1943) Full Movie Breakdown
The Falcon’s Brother (1942) Full Movie Breakdown
The Falcon Out West (1944) Complete Plot Breakdown
The Falcon’s Alibi (1946) Complete Plot Breakdown
The Maltese Falcon (1931) Detailed Story Recap
A Date with the Falcon (1942) Spoiler-Packed Plot Recap
The Falcon in Danger (1943) Full Summary & Key Details
Roaring City (1951) Ending Explained & Film Insights
The Falcon in Mexico (1944) Movie Recap & Themes
The Falcon Takes Over (1942) Story Summary & Characters
The Falcon’s Adventure (1946) Spoiler-Packed Plot Recap
The Falcon and the Co-Eds (1943) Detailed Story Recap
The Falcon in Hollywood (1944) Movie Recap & Themes


