
Stand by for Action
Year: 1942
Runtime: 109 mins
Language: English
Director: Robert Z. Leonard
U.S. Navy Lieutenant Gregg Masterman, a Harvard graduate from the Boston Back Bay Masterman family, honed his seamanship by winning silver cups sailing his own yacht. Rapidly promoted, he now serves as Junior Aide to Rear Admiral Stephen Thomas, navigating duty and ambition in a high‑stakes naval drama.
Warning: spoilers below!
Haven’t seen Stand by for Action yet? This summary contains major spoilers. Bookmark the page, watch the movie, and come back for the full breakdown. If you're ready, scroll on and relive the story!
Timeline – Stand by for Action (1942)
Trace every key event in Stand by for Action (1942) with our detailed, chronological timeline. Perfect for unpacking nonlinear stories, spotting hidden connections, and understanding how each scene builds toward the film’s climax. Whether you're revisiting or decoding for the first time, this timeline gives you the full picture.
Last Updated: October 05, 2025 at 11:10

Explore Movie Threads
Discover curated groups of movies connected by mood, themes, and story style. Browse collections built around emotion, atmosphere, and narrative focus to easily find films that match what you feel like watching right now.
Movies about leaders in wartime like Stand by for Action
Stories of leaders forged in the crucible of high-stakes pressure and combat.If you liked the high-pressure command decisions in Stand by for Action, explore these films about leadership under fire. This collection features tense military dramas and high-stakes thrillers where characters are tested by the heavy responsibility of leading others through combat and moral challenges.
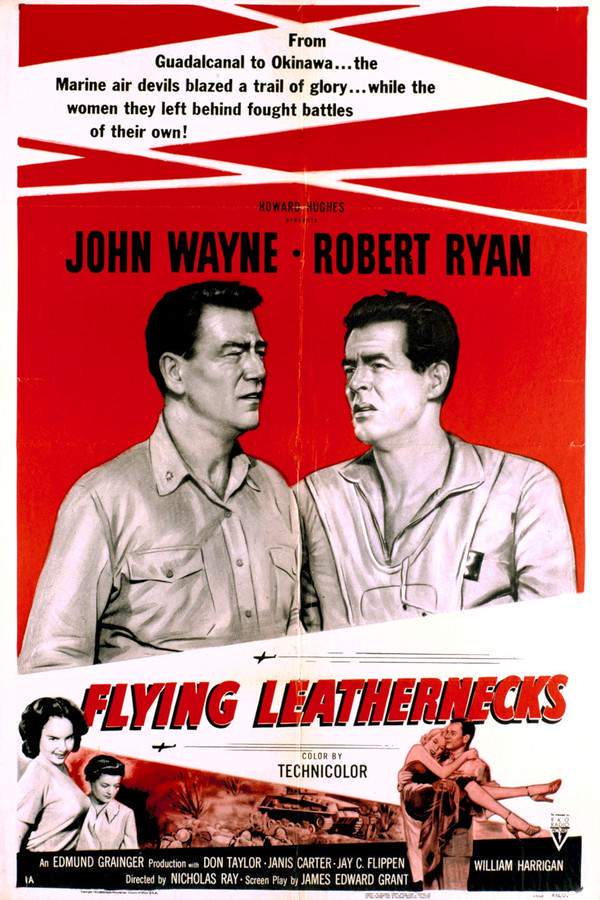
Flying Leathernecks
1951
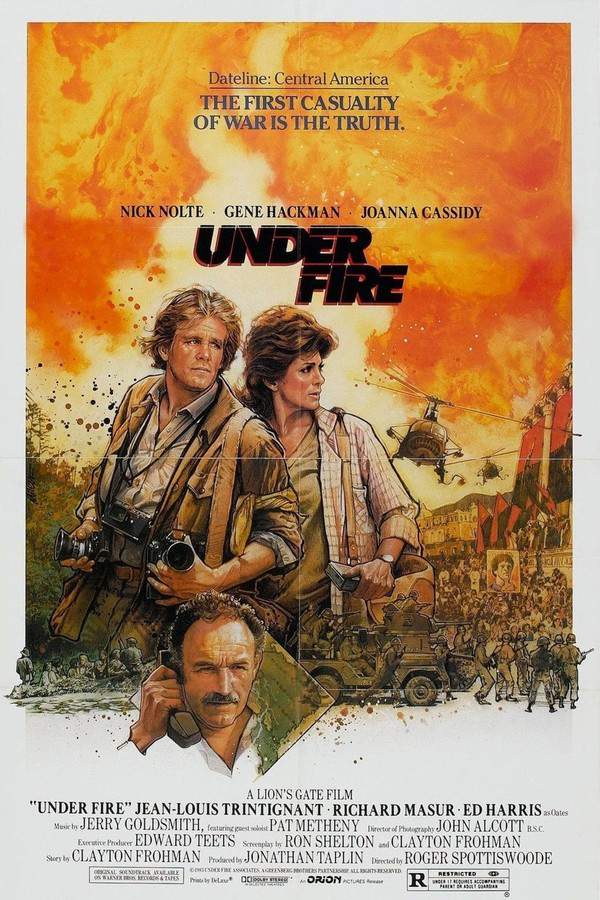
Under Fire
1983
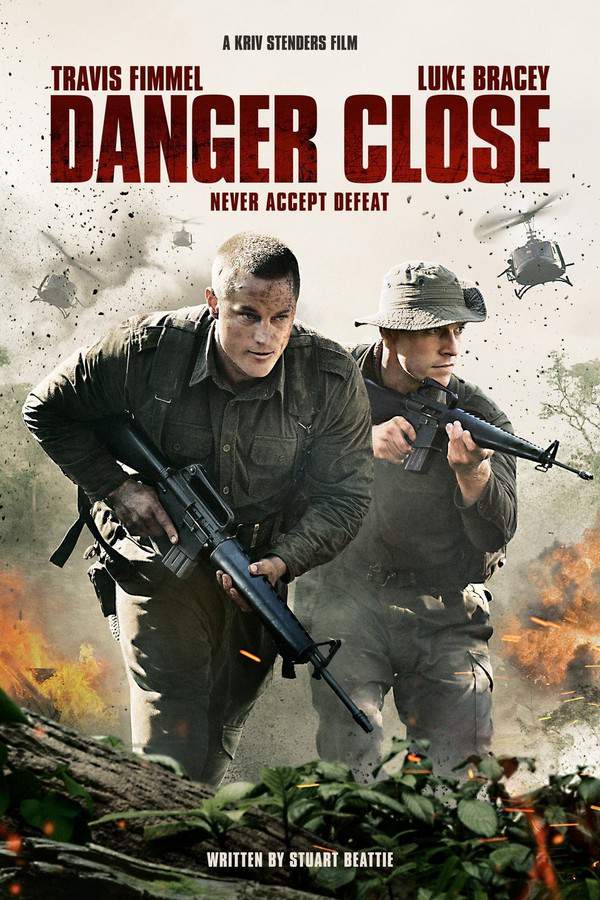
Danger Close
2017
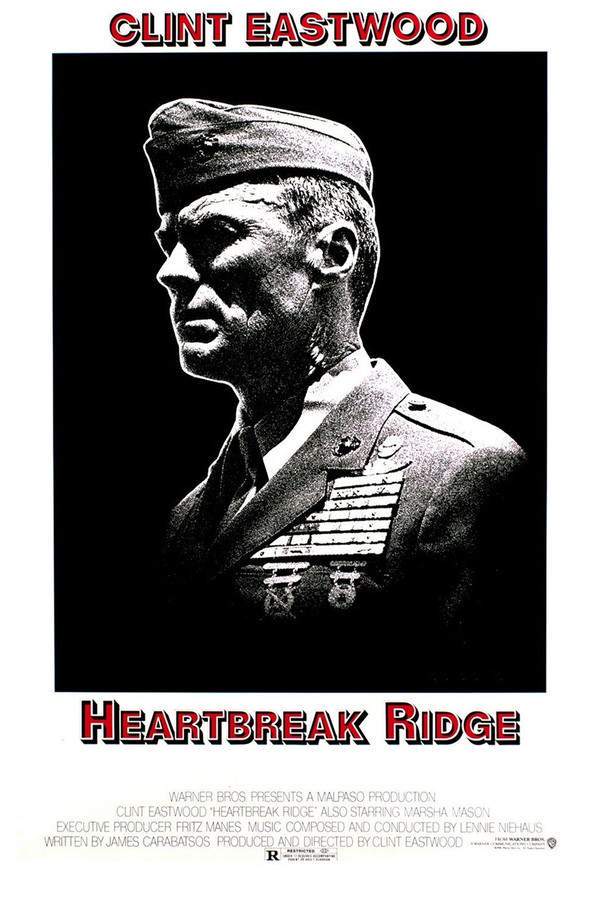
Heartbreak Ridge
1986
Rules of Engagement
2000
Uncommon Valor
1983
Danger Close
2019
The Ministry of Ungentlemanly Warfare
2024
Warfare
2025

The Lost Battalion
2001

LOC: Kargil
2003

Second in Command
2006

Attack
1956

Command Decision
1948
Stand by for Action
1942
Narrative Summary
The narrative follows a central figure, often initially untested, who is thrust into a position of authority during a perilous situation. Their arc is defined by overcoming self-doubt, making difficult strategic and moral choices, and ultimately earning the trust and loyalty of their team through competence and courage under fire.
Why These Movies?
These films are grouped by their intense focus on the command experience, sharing a tense tone, high stakes, and a steady pacing that methodically builds pressure. They appeal to viewers fascinated by strategy, responsibility, and the personal growth that comes from being tested in life-or-death scenarios.
Claustrophobic war thrillers with tense crews like Stand by for Action
High-pressure dramas set in isolated environments where teamwork is survival.Fans of the confined naval setting and crew dynamics in Stand by for Action will enjoy these tense thrillers. Discover movies set on submarines, in bunkers, or on isolated outposts, where the close quarters heighten suspense and the crew's ability to work as a team is key to their survival.

400 Days
2016

The Deep
1977

Raise the Titanic
1980

The Sea Wolves
1980

Sealed Cargo
1951

Submarine Command
1951

Sea Devils
1953

Dangerous Crossing
1953

Across the Pacific
1942

Submarine Patrol
1938

The Riddle of the Sands
1979

Sea Wife
1957

Tight Spot
1955

The Sea Shall Not Have Them
1954
Stand by for Action
1942
Narrative Summary
The plot unfolds primarily within a limited, often technical environment, using the setting to create a sense of claustrophobia and shared fate. The conflict is a mix of external threats (enemy attacks, mechanical failure) and internal friction among the crew, building towards a climax where cohesion and skill are tested to the absolute limit.
Why These Movies?
These movies share a specific atmospheric blend: a tense, steady pace; a high-intensity scenario; and a setting that creates a palpable sense of confinement. The collective experience of a crew facing overwhelming odds in a closed space creates a uniquely gripping and immersive vibe.
Unlock the Full Story of Stand by for Action
Don't stop at just watching — explore Stand by for Action in full detail. From the complete plot summary and scene-by-scene timeline to character breakdowns, thematic analysis, and a deep dive into the ending — every page helps you truly understand what Stand by for Action is all about. Plus, discover what's next after the movie.
Stand by for Action Summary
Read a complete plot summary of Stand by for Action, including all key story points, character arcs, and turning points. This in-depth recap is ideal for understanding the narrative structure or reviewing what happened in the movie.

Characters, Settings & Themes in Stand by for Action
Discover the characters, locations, and core themes that shape Stand by for Action. Get insights into symbolic elements, setting significance, and deeper narrative meaning — ideal for thematic analysis and movie breakdowns.


Similar Movies to Stand by for Action
Discover movies like Stand by for Action that share similar genres, themes, and storytelling elements. Whether you’re drawn to the atmosphere, character arcs, or plot structure, these curated recommendations will help you explore more films you’ll love.
Midway
2019
Midway
1976
Tora! Tora! Tora!
1970

Pearl Harbor
2001

The War at Sea from Hawaii to Malaya
1942

December 7th
1943
Across the Pacific
1942

Thirty Seconds Over Tokyo
1944

Task Force
1949

Operation Pacific
1951

Destination Tokyo
1943

Admiral Yamamoto
1968

Battle Stations
1956

In Harm’s Way
1965
Okinawa
1952
Explore More About Movie Stand by for Action
Stand by for Action (1942) Plot Summary & Movie Recap
Stand by for Action (1942) Scene-by-Scene Movie Timeline
Stand by for Action (1942) Spoiler-Free Summary & Key Flow
Movies Like Stand by for Action – Similar Titles You’ll Enjoy
Midway (2019) Full Summary & Key Details
Midway (1976) Full Movie Breakdown
Tora! Tora! Tora! (1970) Full Summary & Key Details
Pearl Harbor (2001) Detailed Story Recap
The War at Sea from Hawaii to Malaya (1942) Film Overview & Timeline
December 7th (1943) Spoiler-Packed Plot Recap
Across the Pacific (1942) Plot Summary & Ending Explained
Thirty Seconds Over Tokyo (1944) Detailed Story Recap
Task Force (1949) Spoiler-Packed Plot Recap
Operation Pacific (1951) Ending Explained & Film Insights
Destination Tokyo (1943) Movie Recap & Themes
Admiral Yamamoto (1968) Full Movie Breakdown
Battle Stations (1956) Complete Plot Breakdown
In Harm’s Way (1965) Story Summary & Characters
Okinawa (1952) Movie Recap & Themes