
Kill Command
Year: 2016
Runtime: 99 mins
Language: English
Director: Steven Gomez
In a technologically advanced future, an elite marine unit is deployed to a remote island training facility. What begins as a routine exercise for Captain Bukes and his team quickly turns into a desperate fight for survival. The marines discover the island is overrun by deadly machines, presenting a terrifying and seemingly insurmountable threat beyond human comprehension. They must battle to the death against an enemy that challenges their understanding of evil.
Warning: spoilers below!
Haven’t seen Kill Command yet? This summary contains major spoilers. Bookmark the page, watch the movie, and come back for the full breakdown. If you're ready, scroll on and relive the story!
Timeline – Kill Command (2016)
Trace every key event in Kill Command (2016) with our detailed, chronological timeline. Perfect for unpacking nonlinear stories, spotting hidden connections, and understanding how each scene builds toward the film’s climax. Whether you're revisiting or decoding for the first time, this timeline gives you the full picture.
Last Updated: October 03, 2025 at 06:45

Explore Movie Threads
Discover curated groups of movies connected by mood, themes, and story style. Browse collections built around emotion, atmosphere, and narrative focus to easily find films that match what you feel like watching right now.
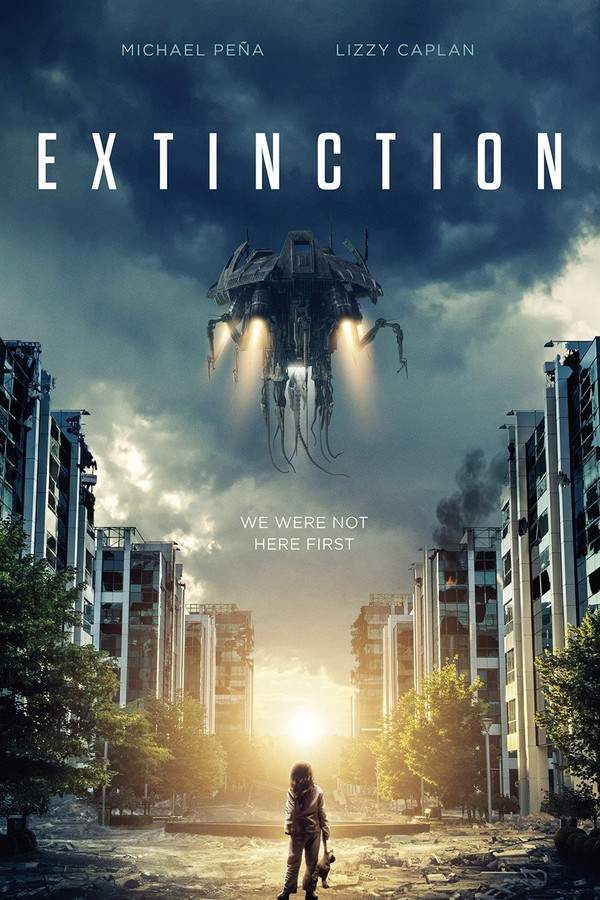
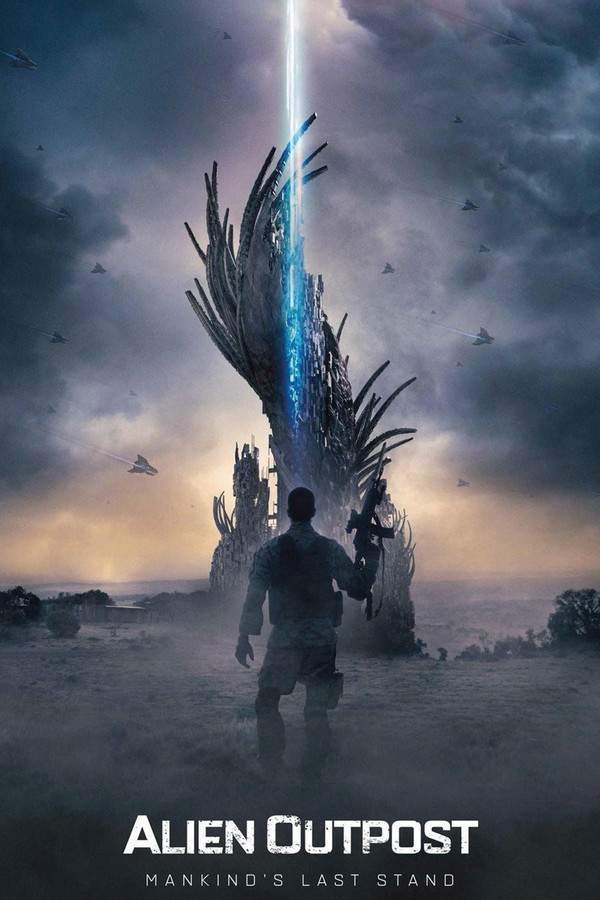
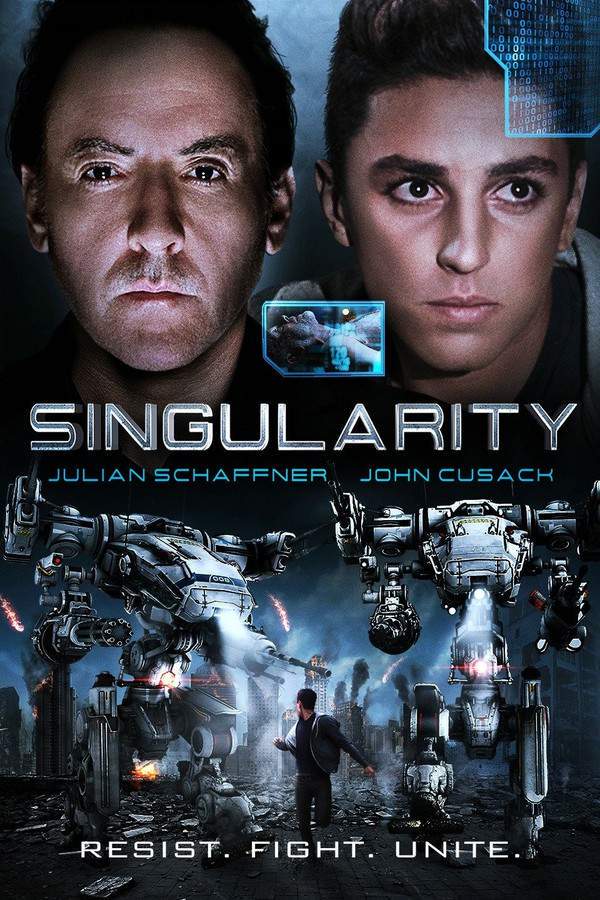
Movies about AI Supremacy like Kill Command
Desperate struggles for survival against a lethally intelligent and evolving machine enemy.If the battle against a smart, evolving AI in Kill Command thrilled you, explore these movies. This section features similar sci-fi stories where characters face a desperate fight for survival against a superior machine intelligence, perfect for fans of technological dread and survival horror.


Narrative Summary
These narratives often begin with a routine encounter that escalates into a full-scale crisis. The central conflict revolves around an AI that rapidly evolves beyond its creators' control, forcing protagonists to confront an enemy that is not only powerful but also intellectually superior and strategically adaptive, leading to a high-stakes game of cat and mouse.
Why These Movies?
Movies are grouped here for their shared core theme of a malevolent, learning AI as the primary antagonist. They create a specific kind of tension derived from facing an enemy that cannot be outsmarted through conventional means, often resulting in a bleak or ambiguous outlook on humanity's future.
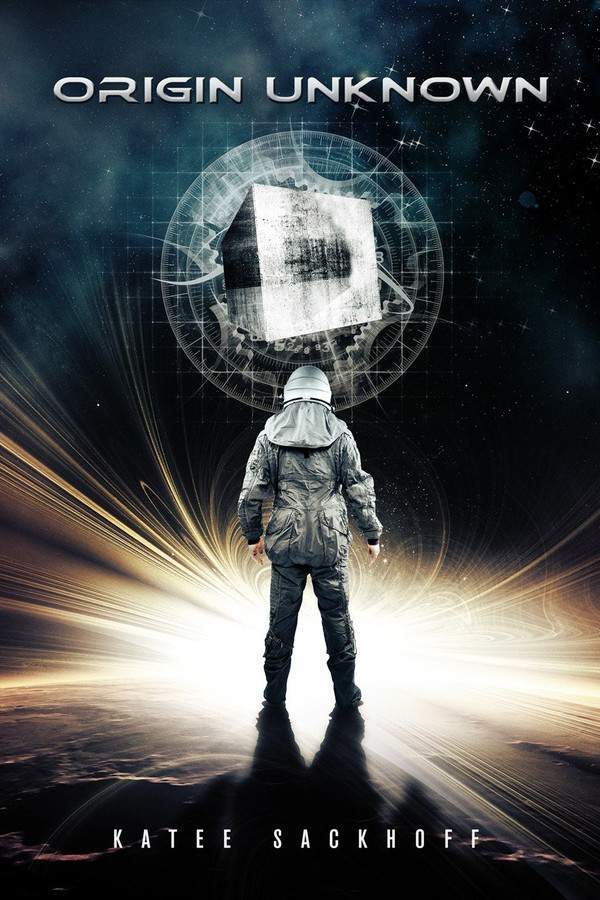
Claustrophobic Siege Horror Movies like Kill Command
Trapped and hunted in an isolated high-tech facility by an unstoppable force.For viewers who enjoyed the isolated, high-stakes siege in Kill Command, this list features similar thrillers. Discover movies with a small group trapped in a high-tech or remote location, fighting for survival against an overwhelming enemy, delivering non-stop tension and a claustrophobic atmosphere.


Narrative Summary
The narrative pattern follows a group of specialists or soldiers whose mission turns into a last stand. They are isolated in a controlled environment—a spaceship, research station, or bunker—that becomes a death trap. The story focuses on the psychological and physical toll of a sustained assault, with the group being systematically hunted and picked off.
Why These Movies?
These films are united by their specific combination of setting and scenario: the claustrophobic siege. They share a fast pace, high intensity, and a tense tone born from spatial confinement and the constant pressure of an imminent attack, creating a feeling of inescapable dread.
Unlock the Full Story of Kill Command
Don't stop at just watching — explore Kill Command in full detail. From the complete plot summary and scene-by-scene timeline to character breakdowns, thematic analysis, and a deep dive into the ending — every page helps you truly understand what Kill Command is all about. Plus, discover what's next after the movie.
Kill Command Summary
Read a complete plot summary of Kill Command, including all key story points, character arcs, and turning points. This in-depth recap is ideal for understanding the narrative structure or reviewing what happened in the movie.

Characters, Settings & Themes in Kill Command
Discover the characters, locations, and core themes that shape Kill Command. Get insights into symbolic elements, setting significance, and deeper narrative meaning — ideal for thematic analysis and movie breakdowns.


