Dick Tracy’s Dilemma
Year: 1947
Runtime: 60 mins
Language: English
Director: John Rawlins
Detective Dick Tracy is drawn into a tangled case involving the theft of a massive consignment of fur coats, a suspected insurance fraud, and a series of murders. All clues point to a formidable criminal known as the Hook of Doom, a massive thug who replaces his right hand with a metal hook.
Warning: spoilers below!
Haven’t seen Dick Tracy’s Dilemma yet? This summary contains major spoilers. Bookmark the page, watch the movie, and come back for the full breakdown. If you're ready, scroll on and relive the story!
Timeline – Dick Tracy’s Dilemma (1947)
Trace every key event in Dick Tracy’s Dilemma (1947) with our detailed, chronological timeline. Perfect for unpacking nonlinear stories, spotting hidden connections, and understanding how each scene builds toward the film’s climax. Whether you're revisiting or decoding for the first time, this timeline gives you the full picture.
Last Updated: October 09, 2025 at 11:29
Explore Movie Threads
Discover curated groups of movies connected by mood, themes, and story style. Browse collections built around emotion, atmosphere, and narrative focus to easily find films that match what you feel like watching right now.
Fast-paced detective movies like Dick Tracy’s Dilemma
Where a relentless detective chases a brutal criminal against a tight deadline.If you enjoyed the urgent, race-against-time investigation in Dick Tracy’s Dilemma, you'll like these movies. This collection features gritty crime stories where detectives face a ticking clock to outsmart a brutal villain, delivering tense, methodical, and satisfyingly straightforward narratives.
Narrative Summary
The narrative follows a linear, fast-paced investigation where a clear threat—like a mastermind or a uniquely dangerous killer—forces the hero into a procedural sprint. Clues are uncovered in rapid succession, leading to violent confrontations and chases, building suspense through a direct path to a conclusive, justice-serving finale.
Why These Movies?
These films are grouped by their shared urgent, gritty mood, fast pacing, and a narrative structure built around a high-stakes investigation with a definitive deadline. They consistently deliver a tense, methodical experience centered on a capable protagonist overcoming a formidable criminal challenge.
Classic crime serials with a vibe like Dick Tracy’s Dilemma
Straightforward tales of good versus evil from the golden age of detective stories.For fans of the straightforward, triumphant justice in Dick Tracy’s Dilemma, this thread collects similar vintage detective stories. These movies share a tense but ultimately hopeful tone, fast pacing, and a classic structure where a heroic detective definitively defeats a memorable criminal threat.
Narrative Summary
These narratives are linear and efficient, often featuring a series of episodic challenges. The hero is archetypically good, the villain is theatrically evil, and the conflict is physical and intellectual rather than psychological. The journey is marked by suspense and danger, but concludes with an unambiguous, happy ending that reaffirms the victory of justice.
Why These Movies?
They are united by a specific tonal blend: a tense and gritty atmosphere during the investigation that resolves into a happy, conventional ending. This mix of dark criminal acts with a ultimately light, triumphant resolution is a hallmark of this era and style of filmmaking.
Unlock the Full Story of Dick Tracy’s Dilemma
Don't stop at just watching — explore Dick Tracy’s Dilemma in full detail. From the complete plot summary and scene-by-scene timeline to character breakdowns, thematic analysis, and a deep dive into the ending — every page helps you truly understand what Dick Tracy’s Dilemma is all about. Plus, discover what's next after the movie.
Dick Tracy’s Dilemma Summary
Read a complete plot summary of Dick Tracy’s Dilemma, including all key story points, character arcs, and turning points. This in-depth recap is ideal for understanding the narrative structure or reviewing what happened in the movie.

Characters, Settings & Themes in Dick Tracy’s Dilemma
Discover the characters, locations, and core themes that shape Dick Tracy’s Dilemma. Get insights into symbolic elements, setting significance, and deeper narrative meaning — ideal for thematic analysis and movie breakdowns.

Dick Tracy’s Dilemma Spoiler-Free Summary
Get a quick, spoiler-free overview of Dick Tracy’s Dilemma that covers the main plot points and key details without revealing any major twists or spoilers. Perfect for those who want to know what to expect before diving in.

More About Dick Tracy’s Dilemma
Visit What's After the Movie to explore more about Dick Tracy’s Dilemma: box office results, cast and crew info, production details, post-credit scenes, and external links — all in one place for movie fans and researchers.

Similar Movies to Dick Tracy’s Dilemma
Discover movies like Dick Tracy’s Dilemma that share similar genres, themes, and storytelling elements. Whether you’re drawn to the atmosphere, character arcs, or plot structure, these curated recommendations will help you explore more films you’ll love.
Explore More About Movie Dick Tracy’s Dilemma
Dick Tracy’s Dilemma (1947) Plot Summary & Movie Recap
Dick Tracy’s Dilemma (1947) Scene-by-Scene Movie Timeline
Dick Tracy’s Dilemma (1947) Spoiler-Free Summary & Key Flow
Movies Like Dick Tracy’s Dilemma – Similar Titles You’ll Enjoy
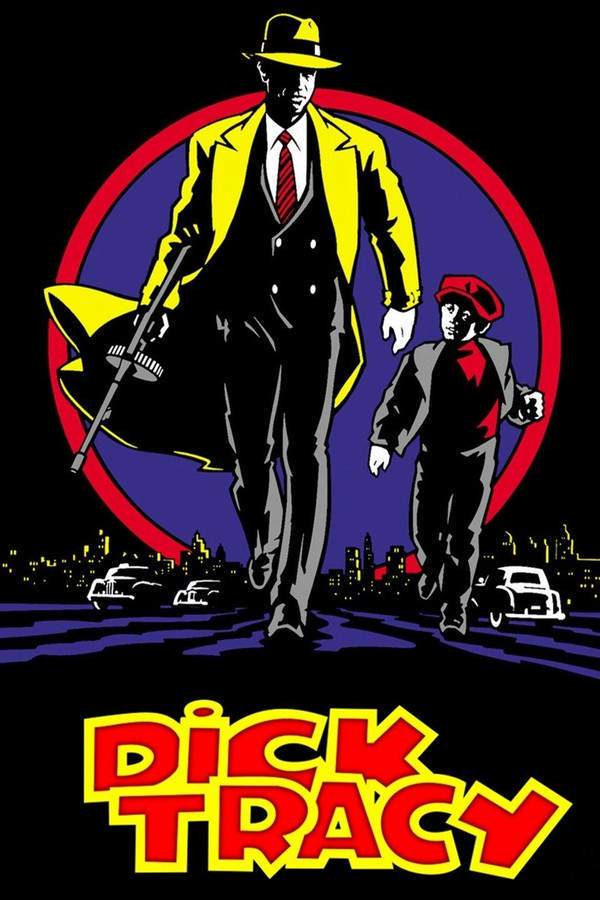
Dick Tracy (1990) Spoiler-Packed Plot Recap
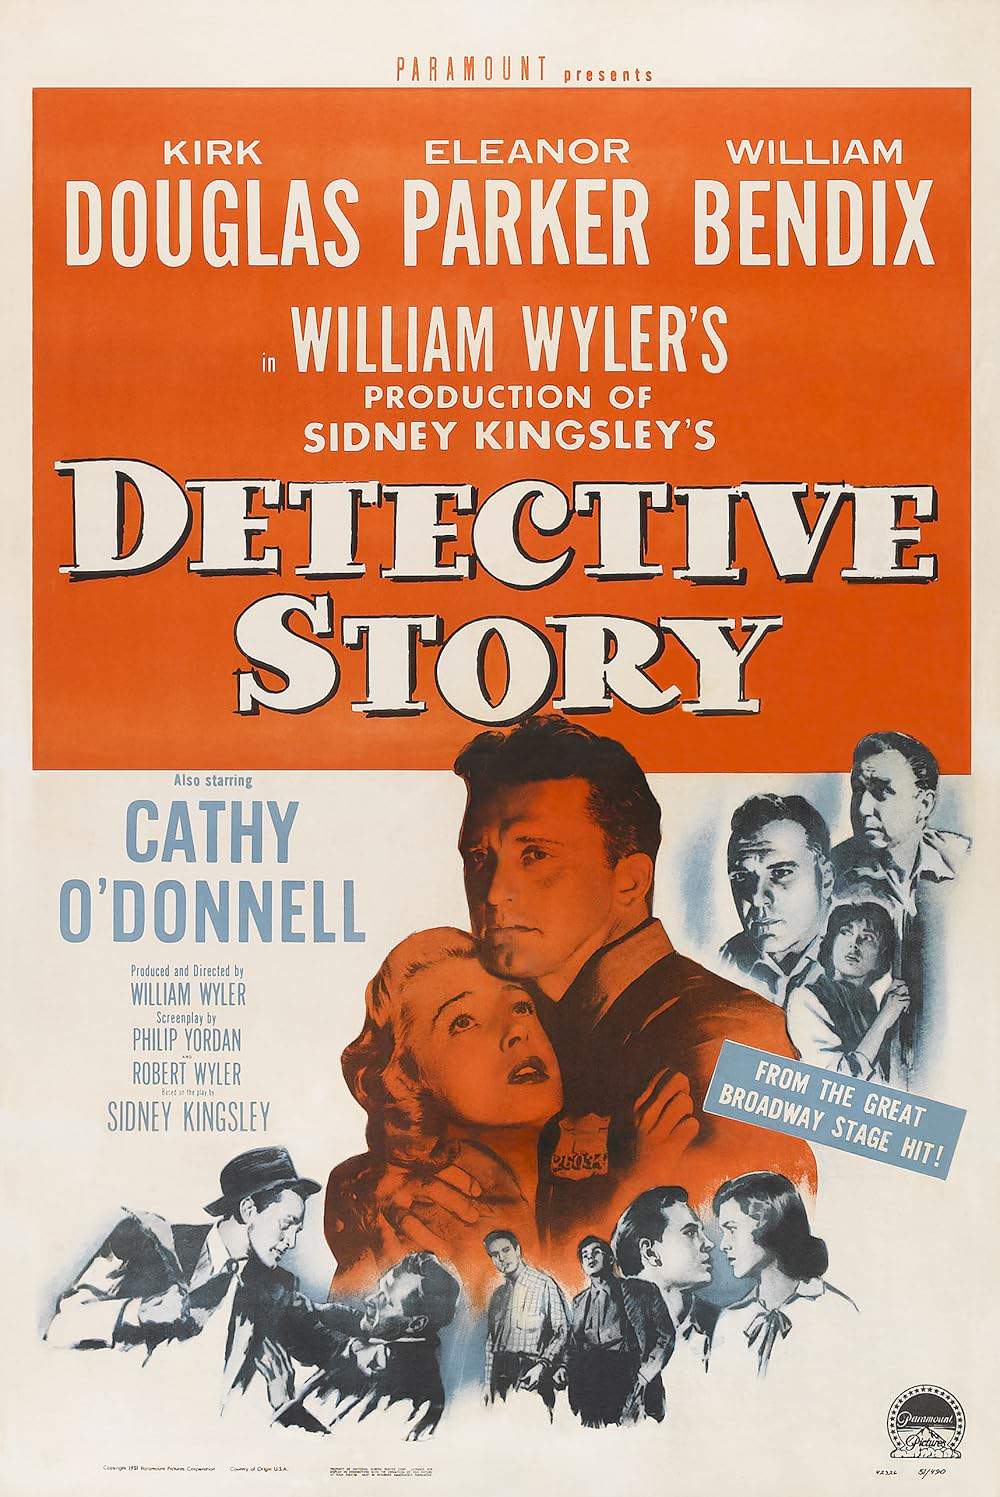
Detective Story (1951) Story Summary & Characters
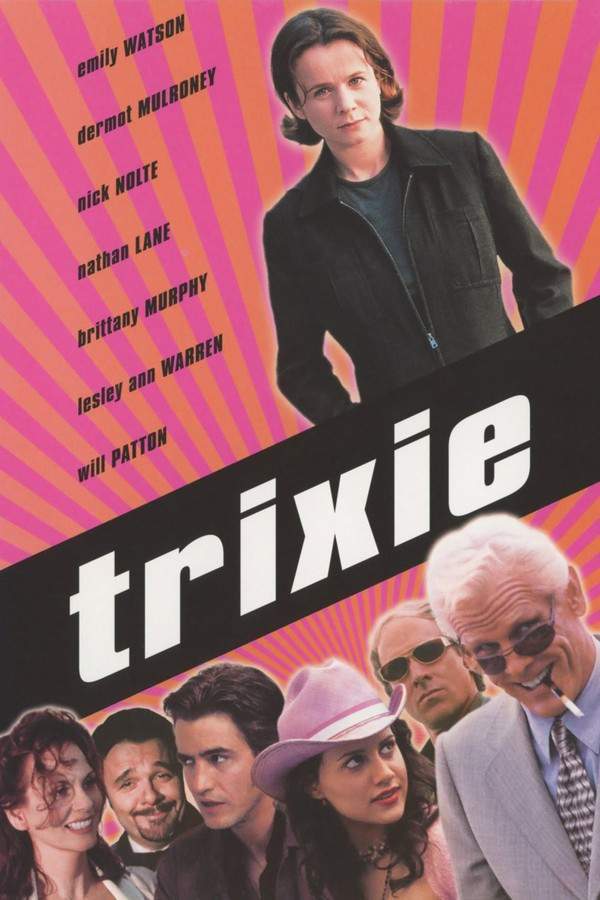
Trixie (2000) Full Summary & Key Details
Chain of Fools (2000) Movie Recap & Themes
Detective Story (2007) Full Movie Breakdown
Tricky Dicks (1953) Story Summary & Characters
The Big Combo (1955) Movie Recap & Themes
Dick Tracy Meets Gruesome (1947) Film Overview & Timeline
Dick Tracy vs. Crime Inc. (1941) Complete Plot Breakdown
Dick Tracy (1937) Full Movie Breakdown
Dick Tracy vs. Cueball (1946) Complete Plot Breakdown
Dick Tracy Returns (1938) Film Overview & Timeline
Dick Tracy’s G-Men (1939) Full Summary & Key Details
Dick Barton Strikes Back (1949) Complete Plot Breakdown
Dick Tracy (1945) Detailed Story Recap

