
Dial 1119
Year: 1950
Runtime: 75 mins
Language: English
Director: Gerald Mayer
When you see this man… Dial 1119! A deranged killer has broken out of a mental institution, driven by a single purpose: to find the psychiatrist whose testimony landed him in the asylum. He storms a downtown bar, taking the patrons hostage and turning the night into a desperate battle of wits and survival.
Warning: spoilers below!
Haven’t seen Dial 1119 yet? This summary contains major spoilers. Bookmark the page, watch the movie, and come back for the full breakdown. If you're ready, scroll on and relive the story!
Dial 1119 (1950) – Full Plot Summary & Ending Explained
Read the complete plot breakdown of Dial 1119 (1950), including all key story events, major twists, and the ending explained in detail. Discover what really happened—and what it all means.
Delusional mental patient Gunther Wyckoff escapes from an institution, determined to locate psychiatrist John D. Faron, whose testimony helped send him to the asylum. He arrives by bus in Terminal City and, in a brutal display of force, uses a Colt pistol to shoot and kill the bus driver when confronted about the weapon.
Wyckoff’s search for John D. Faron leads him first to the doctor’s office and then to his residence. Leaving the apartment building, he spots the Oasis Bar across the street and decides it will serve as an ideal vantage point to monitor the entryway. Inside, the bar is tended by Chuckles and his assistant Skip. Skip’s wife is in the hospital, adding a personal stake to the tense situation. When Chuckles notices a news flash about Wyckoff on the TV, he recognizes the man and attempts to reach a hidden pistol behind the bar, but time runs out.
The four patrons at the Oasis Bar become witnesses and focal points in the standoff: the slutty barfly Freddy, a young woman named Helen who is accompanied by an older man named Earl, and newspaper reporter Harrison D. Barnes. As Wyckoff circles the room, he shoots Chuckles while the bar owner is trying to call for help. He then forces the patrons to take seats at a single table, keeping a steel gaze on them as a grim audience to his demands. The chaos outside the bar spills into the street, and a beat cop is wounded when Wyckoff fires in the officer’s direction. Bystanders rush to aid the fallen officer, and reinforcements are alerted.
Wyckoff telephones the police, insisting they stay back but deliver John D. Faron to the bar within 25 minutes, or he will begin picking off hostages. The press multiplies outside, turning the scene into a live broadcast as the crowd swells. Faron is located and brought to the Oasis Bar, where he attempts to intervene, though the police captain harbors resentment toward Faron for having defended Wyckoff in court, believing that it reduced the offender’s sentence. The plan to bring Faron in secretly fails when Wyckoff detects their approach and wounds another officer.
With a narrow window left, the police prepare to storm the bar, but Faron steps forward first to plead with Wyckoff, hoping to persuade him to release the hostages. The attempt ends tragically as Wyckoff shoots Faron dead. The bar’s ringing phone finally stops the moment of suspense—the hospital calls about Skip’s wife—and Skip battles Wyckoff in a desperate bid to answer. At the same time, police explode a charge and plunge the bar into darkness. In the ensuing confusion, Freddy seizes Chuckles’ concealed pistol and shoots Wyckoff. The deluded fugitive staggers outside and is killed by police gunfire. Kneeling over John D. Faron’s body, the police captain mutters a somber line: “How far does a man have to go to prove that he’s right?”
Last Updated: October 09, 2025 at 14:11

Explore Movie Threads
Discover curated groups of movies connected by mood, themes, and story style. Browse collections built around emotion, atmosphere, and narrative focus to easily find films that match what you feel like watching right now.
Tense single location siege thrillers like Dial 1119
Tense hostage crises where a confined space becomes a psychological battleground.If you liked the relentless pressure and claustrophobic tension of Dial 1119, this thread features movies where a hostage situation in a confined space drives the plot. Discover similar crime thrillers and suspenseful dramas that trap characters in a desperate fight for survival against a ticking clock.


Narrative Summary
Stories in this thread typically begin with an inciting incident that traps a group of people in a confined space with a threat. The plot unfolds in real-time or over a compressed timeframe, focusing on the dynamics between hostages and captor, negotiation attempts from the outside, and the escalating tension within the isolated environment. The narrative is driven by a constant threat of violence and a race against time.
Why These Movies?
These films are grouped together because they share a core structural element: a confined siege scenario. This setup creates a highly specific and intense viewing experience defined by spatial limitations, palpable suspense, and a focus on psychological warfare under extreme duress.
Grim urban noir thrillers with moral ambiguity like Dial 1119
Grim stories of urban crime where justice and sanity are blurred.Fans of the grim urban atmosphere and dark themes of Dial 1119 will find more movies like it here. This collection features suspenseful crime dramas and noir thrillers set in gritty cityscapes, dealing with obsession, mental instability, and the heavy weight of justice in a morally complex world.


Narrative Summary
Narratives in this thread often follow a downward spiral, propelled by a character's obsession, a past crime, or a fatal mistake. The urban setting is a character in itself—shadowy, impersonal, and threatening. The journey is typically bleak, focusing on psychological unraveling and the tragic consequences of actions, leading to an ending that offers little catharsis and often highlights the cyclical nature of urban despair.
Why These Movies?
These movies are united by a distinct mood and thematic focus: a gritty, anxious portrayal of city life where traditional morality is challenged. They share a grim tone, heavy emotional weight, and a preoccupation with themes of justice, responsibility, and psychological fragility within a corrupt or indifferent society.
Unlock the Full Story of Dial 1119
Don't stop at just watching — explore Dial 1119 in full detail. From the complete plot summary and scene-by-scene timeline to character breakdowns, thematic analysis, and a deep dive into the ending — every page helps you truly understand what Dial 1119 is all about. Plus, discover what's next after the movie.
Dial 1119 Timeline
Track the full timeline of Dial 1119 with every major event arranged chronologically. Perfect for decoding non-linear storytelling, flashbacks, or parallel narratives with a clear scene-by-scene breakdown.

Characters, Settings & Themes in Dial 1119
Discover the characters, locations, and core themes that shape Dial 1119. Get insights into symbolic elements, setting significance, and deeper narrative meaning — ideal for thematic analysis and movie breakdowns.


Similar Movies to Dial 1119
Discover movies like Dial 1119 that share similar genres, themes, and storytelling elements. Whether you’re drawn to the atmosphere, character arcs, or plot structure, these curated recommendations will help you explore more films you’ll love.

Ten 'til Noon
2007
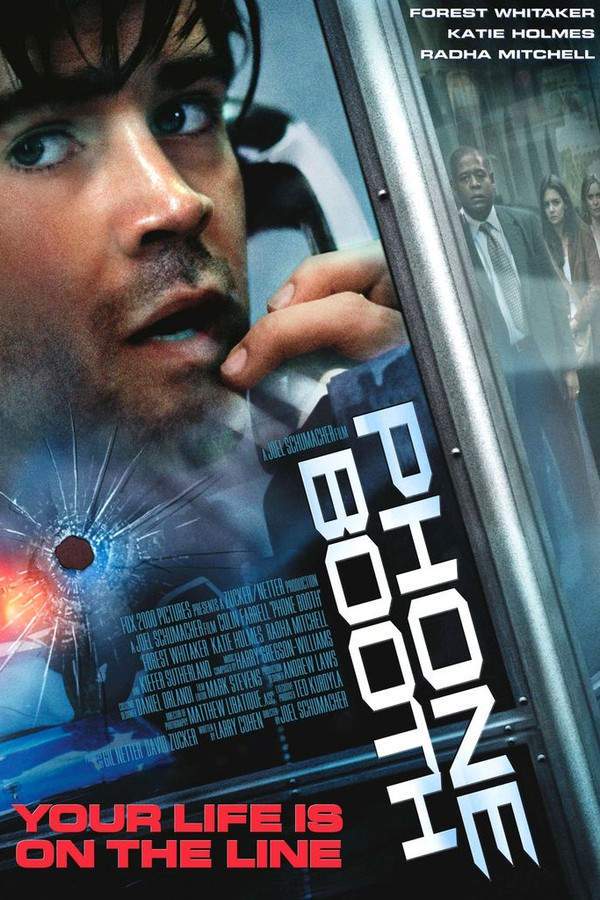
Phone Booth
2003
Hotline
1982

Dial: Help
1988

Dial 100
2021

Union Station
1950

Fingers at the Window
1942

The Night Holds Terror
1955

The Dark Past
1948

Among the Living
1941
Maniac
1963

Somewhere in the Night
1946

Elevator to the Gallows
1958

Dial 999
1955

The Killer Is Loose
1956
Explore More About Movie Dial 1119
Dial 1119 (1950) Scene-by-Scene Movie Timeline
Dial 1119 (1950) Movie Characters, Themes & Settings
Dial 1119 (1950) Spoiler-Free Summary & Key Flow
Movies Like Dial 1119 – Similar Titles You’ll Enjoy
Ten 'til Noon (2007) Spoiler-Packed Plot Recap
Phone Booth (2003) Full Summary & Key Details
Hotline (1982) Spoiler-Packed Plot Recap
Dial: Help (1988) Movie Recap & Themes
Dial 100 (2021) Movie Recap & Themes
Union Station (1950) Movie Recap & Themes
Fingers at the Window (1942) Ending Explained & Film Insights
The Night Holds Terror (1955) Story Summary & Characters
The Dark Past (1948) Movie Recap & Themes
Among the Living (1941) Detailed Story Recap
Maniac (1963) Story Summary & Characters
Somewhere in the Night (1946) Detailed Story Recap
Elevator to the Gallows (1958) Spoiler-Packed Plot Recap
Dial 999 (1955) Full Summary & Key Details
The Killer Is Loose (1956) Full Summary & Key Details