Halleluja for Django
Year: 1967
Runtime: 103 mins
Language: Italian
Director: Maurizio Lucidi
After stealing $500,000, the Jarret gang hides in a small western town while waiting for a scout to lead them across the desert to Mexico. Tensions flare between Jarret and El Santo, the gang’s mastermind who also eyes Jarret’s girlfriend, causing discord. Underestimated scalawag Billy Rum and his friend Mark try to free the captured townspeople.
Warning: spoilers below!
Haven’t seen Halleluja for Django yet? This summary contains major spoilers. Bookmark the page, watch the movie, and come back for the full breakdown. If you're ready, scroll on and relive the story!
Timeline – Halleluja for Django (1967)
Trace every key event in Halleluja for Django (1967) with our detailed, chronological timeline. Perfect for unpacking nonlinear stories, spotting hidden connections, and understanding how each scene builds toward the film’s climax. Whether you're revisiting or decoding for the first time, this timeline gives you the full picture.
Last Updated: October 09, 2025 at 10:49
Explore Movie Threads
Discover curated groups of movies connected by mood, themes, and story style. Browse collections built around emotion, atmosphere, and narrative focus to easily find films that match what you feel like watching right now.
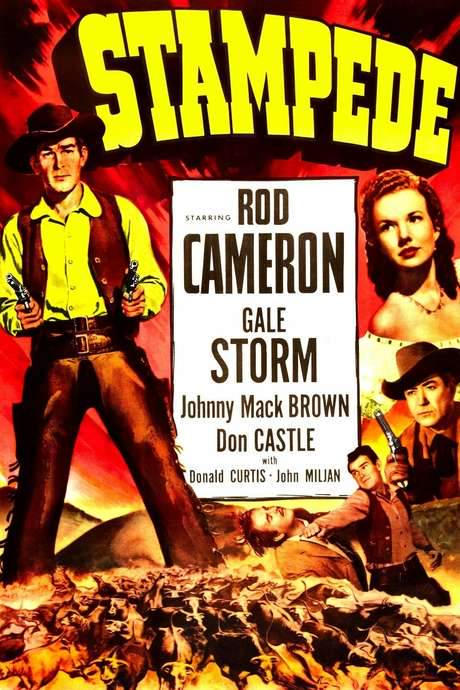
Tense siege westerns like Halleluja for Django
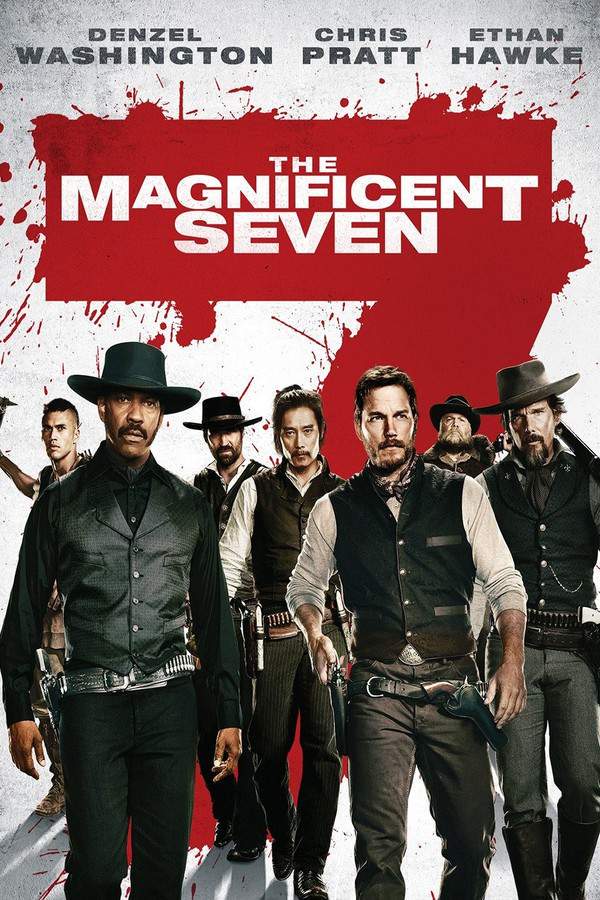
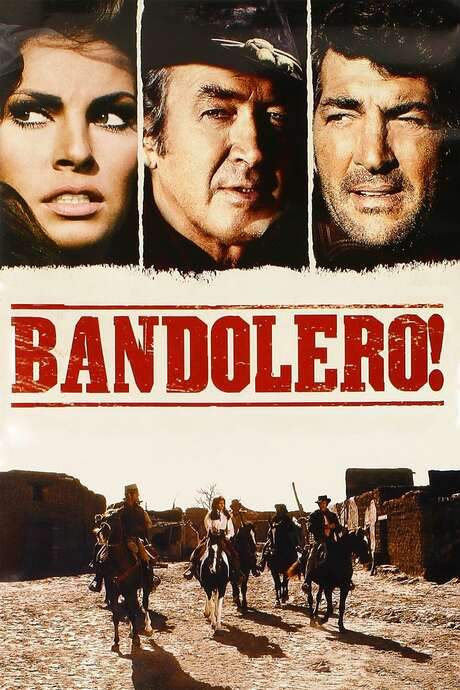
Outlaws trap a town, forcing heroes into a desperate rescue.If you liked the tense standoff in Halleluja for Django, explore more movies where a small town is held hostage by a brutal gang. These films deliver a fast-paced, gritty experience centered on a desperate rescue mission and a high-stakes final confrontation.
Narrative Summary
These narratives typically begin with a powerful, often volatile, gang seizing control of an isolated community. The conflict escalates through internal power struggles within the gang and the emergence of an underestimated hero or group attempting to free the captives, leading to a climactic shootout.
Why These Movies?
They are grouped by their shared high-tension atmosphere, claustrophobic setting, and clear moral conflict between ruthless outlaws and determined rescuers, all driven by a fast pace that builds relentlessly towards action.
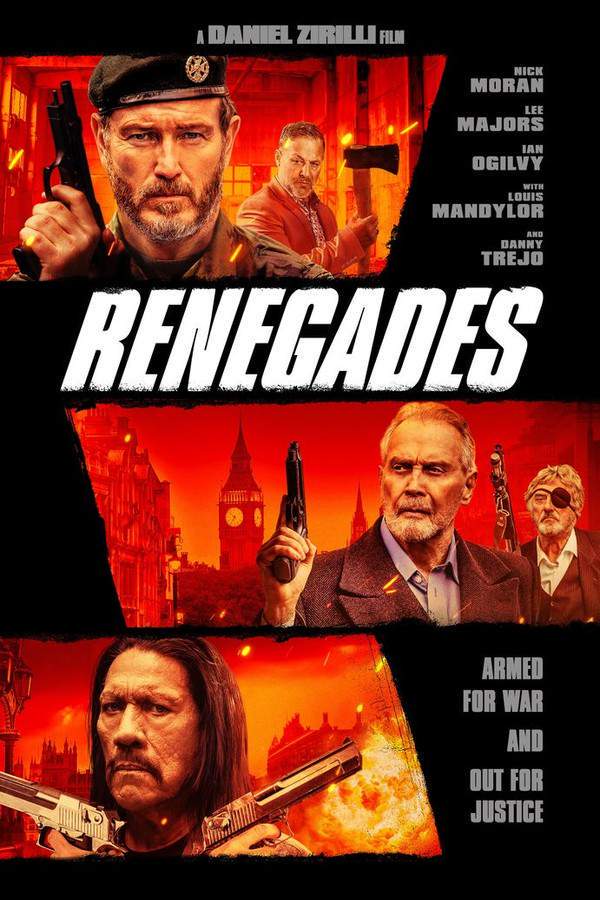
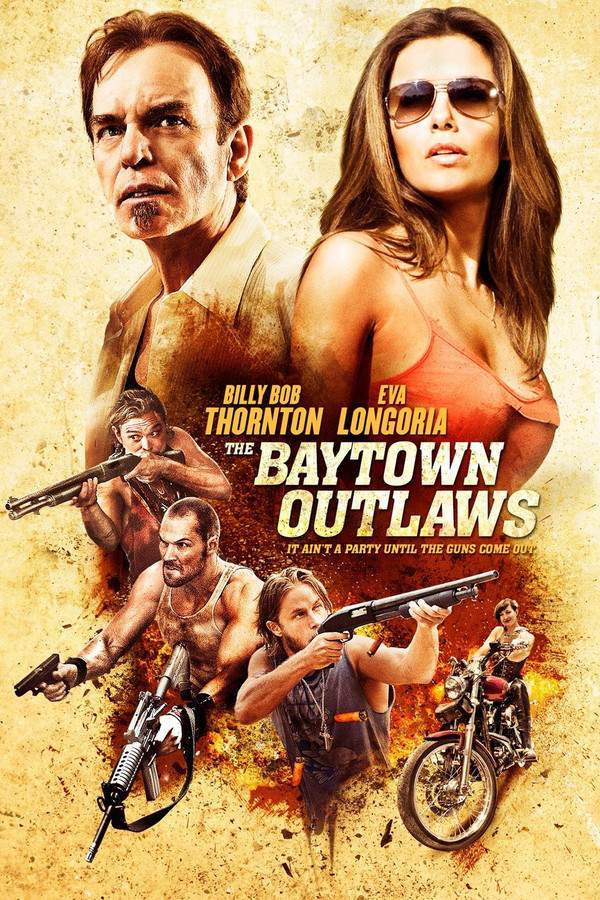
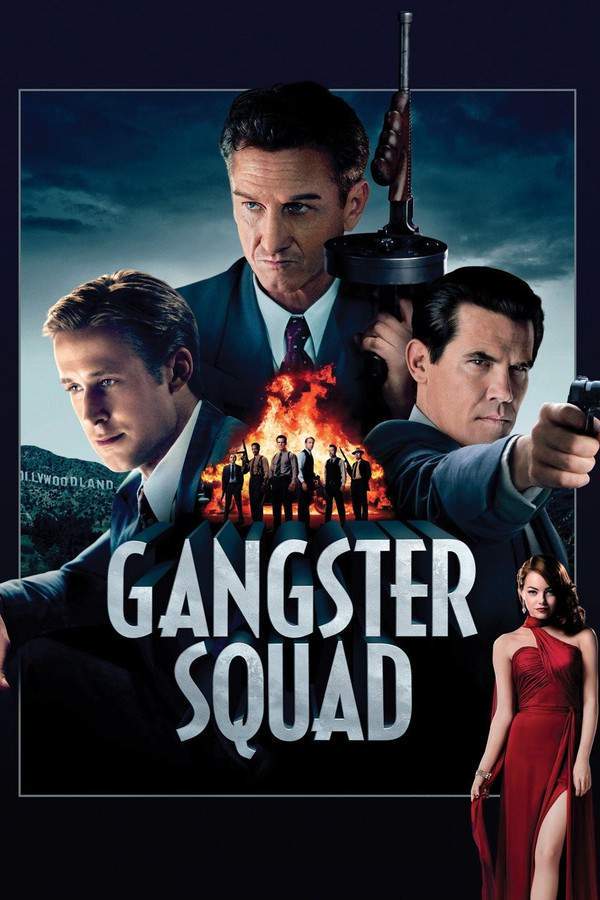
Movies about gritty outlaw gang dynamics like Halleluja for Django
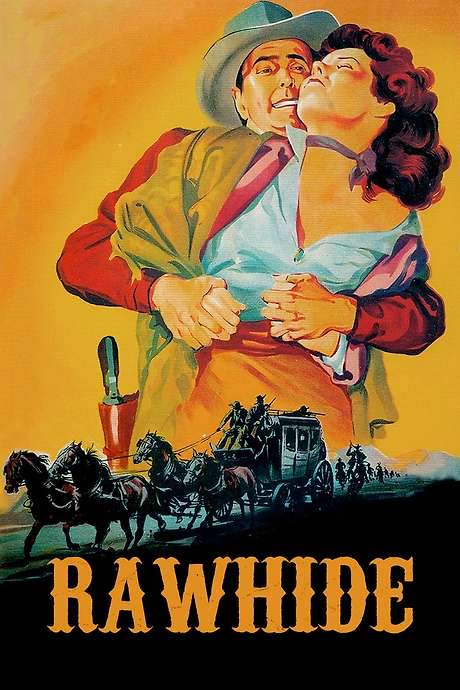
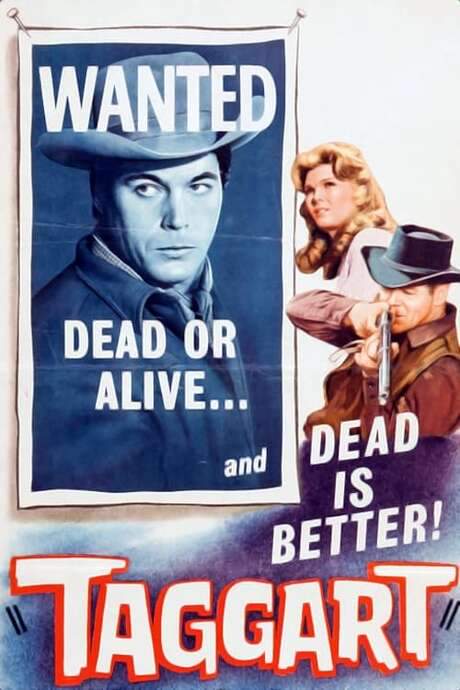
Criminal alliances crack under pressure from greed and betrayal.Fans of the internal conflict within Jarret's gang in Halleluja for Django will enjoy these films. They feature unstable criminal alliances, high-stakes heists, and the inevitable betrayal that comes when greed and power collide.
Narrative Summary
The plot revolves around a gang after a major score, often hiding in a confined space. The central drama comes from the fraying loyalties between a ruthless leader and ambitious lieutenants, with conflicts over money, power, and personal relationships pushing the group toward self-destruction.
Why These Movies?
These movies share a tense, gritty tone driven by interpersonal conflict among criminals. The high intensity stems from the constant threat of betrayal within the group, set against the backdrop of a high-stakes criminal plot.
Unlock the Full Story of Halleluja for Django
Don't stop at just watching — explore Halleluja for Django in full detail. From the complete plot summary and scene-by-scene timeline to character breakdowns, thematic analysis, and a deep dive into the ending — every page helps you truly understand what Halleluja for Django is all about. Plus, discover what's next after the movie.
Halleluja for Django Summary
Read a complete plot summary of Halleluja for Django, including all key story points, character arcs, and turning points. This in-depth recap is ideal for understanding the narrative structure or reviewing what happened in the movie.

Characters, Settings & Themes in Halleluja for Django
Discover the characters, locations, and core themes that shape Halleluja for Django. Get insights into symbolic elements, setting significance, and deeper narrative meaning — ideal for thematic analysis and movie breakdowns.

More About Halleluja for Django
Visit What's After the Movie to explore more about Halleluja for Django: box office results, cast and crew info, production details, post-credit scenes, and external links — all in one place for movie fans and researchers.

Similar Movies to Halleluja for Django
Discover movies like Halleluja for Django that share similar genres, themes, and storytelling elements. Whether you’re drawn to the atmosphere, character arcs, or plot structure, these curated recommendations will help you explore more films you’ll love.
Explore More About Movie Halleluja for Django
Halleluja for Django (1967) Plot Summary & Movie Recap
Halleluja for Django (1967) Scene-by-Scene Movie Timeline
Halleluja for Django (1967) Spoiler-Free Summary & Key Flow
Movies Like Halleluja for Django – Similar Titles You’ll Enjoy
Django (1966) Movie Recap & Themes
Son of Django (1967) Detailed Story Recap
Django Shoots First (1966) Full Summary & Key Details
Django’s Cut Price Corpses (1971) Full Summary & Key Details
Viva! Django (1971) Film Overview & Timeline
One Damned Day at Dawn… Django Meets Sartana! (1970) Full Summary & Key Details
Django Kills Softly (1967) Story Summary & Characters
A Few Dollars for Django (1966) Plot Summary & Ending Explained
Django the Condemned (1965) Detailed Story Recap
Django Challenges Sartana (1970) Ending Explained & Film Insights
They Call Me Hallelujah (1971) Ending Explained & Film Insights
Django the Bastard (1969) Plot Summary & Ending Explained
Django and Sartana Are Coming… It’s the End (1970) Film Overview & Timeline
Don’t Wait, Django… Shoot! (1967) Plot Summary & Ending Explained
Django, Prepare a Coffin (1968) Film Overview & Timeline

